Light brown eye makeup natural enough to pass as shadow rather than decoration takes about ten minutes and two brushes, but most people lose it in the blend. The ten to fifteen seconds of actual windshield-wiper motion across the crease, not the two swipes you pretend count, is what keeps brown tones from ashing out into a visible seam.
1. Select Colors Close to Your Skin Tone
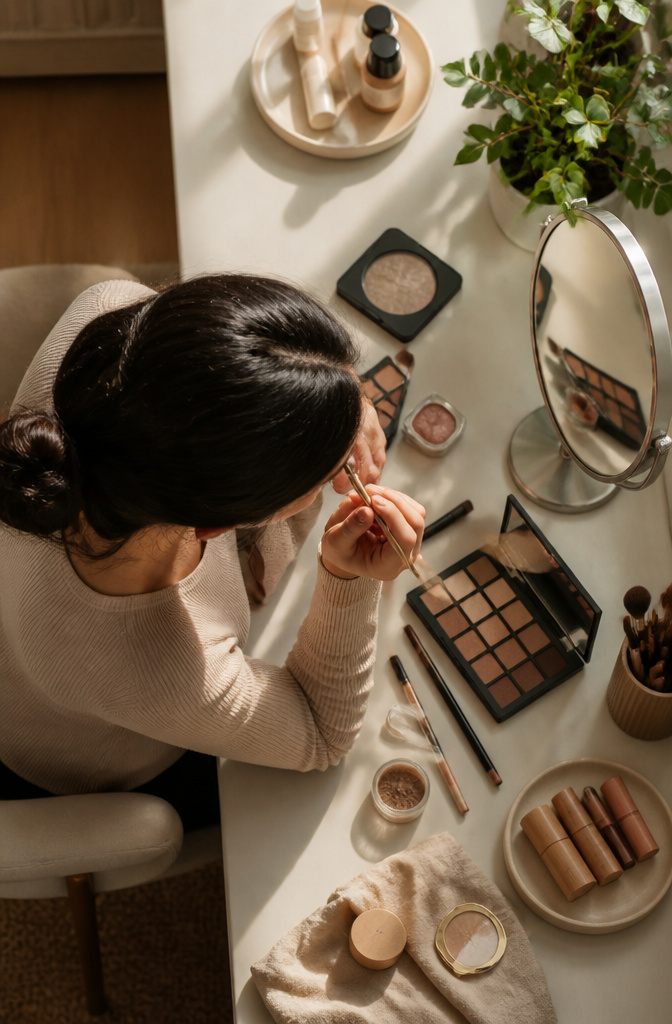
Taupes, browns, and earth tones sit right against the skin in a way that reads as shadow rather than decoration, which is exactly what a natural look needs. Brown eyes pull off a wide range of colors, but shades a few tones lighter than your skin keep the effect quiet enough for daytime without looking washed out. A white or near-white base on fair to medium skin works; on deeper skin, it fights the undertone and reads chalky, so warm taupes and light browns replace it there.
Metallics tempt anyone with brown eyes, since bronze and gold do pick up the warm flecks, but skin doesn’t glitter on its own. Used at all, a small touch of gold at the inner corner on tan or olive skin catches light without breaking the illusion. Matte versions of those same metallic tones give the warmth without the shine. Rosy undertones handle a subtle pink or plum wash; golden undertones lean into peach. Neutral undertones mean most colors technically work, which makes the choice harder, not easier. Testing under natural light settles it.
2. Apply Base Color Across the Lid
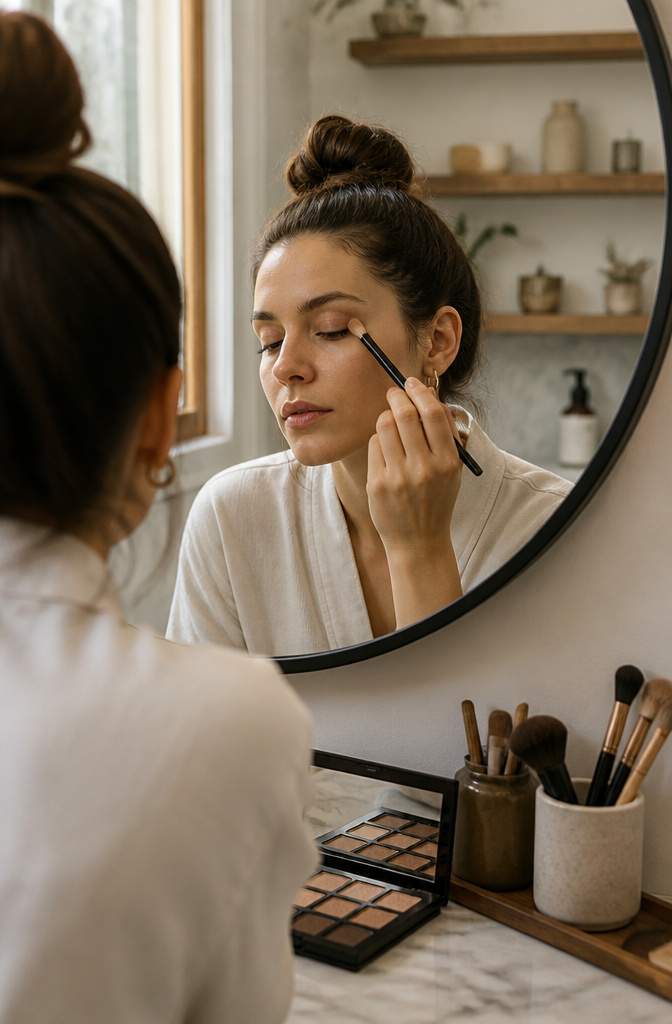
A medium-density eyeshadow brush does the base work here, something with enough body to carry pigment but not so packed that it dumps half the pan onto your lid in one tap. The sources mention loading the brush and tapping off excess before you start, which is the move that separates even color from the patchy look you get when powder pools in the crease or along the lash line. I close my eye, sweep from lash line to brow bone in light strokes, and let it ride slightly above the natural crease if it wants to; the point is coverage, not precision mapping.
Primer sits underneath as optional prep. On days when I skip it, the shadow fades faster and the true color shifts by noon, so the trade is real. The brush gets reloaded as needed, but the second load always carries less product than the first because residue lingers in the bristles. Rush this step and color concentrates where the skin folds; slow strokes win.
3. Blend Where the Colors Meet
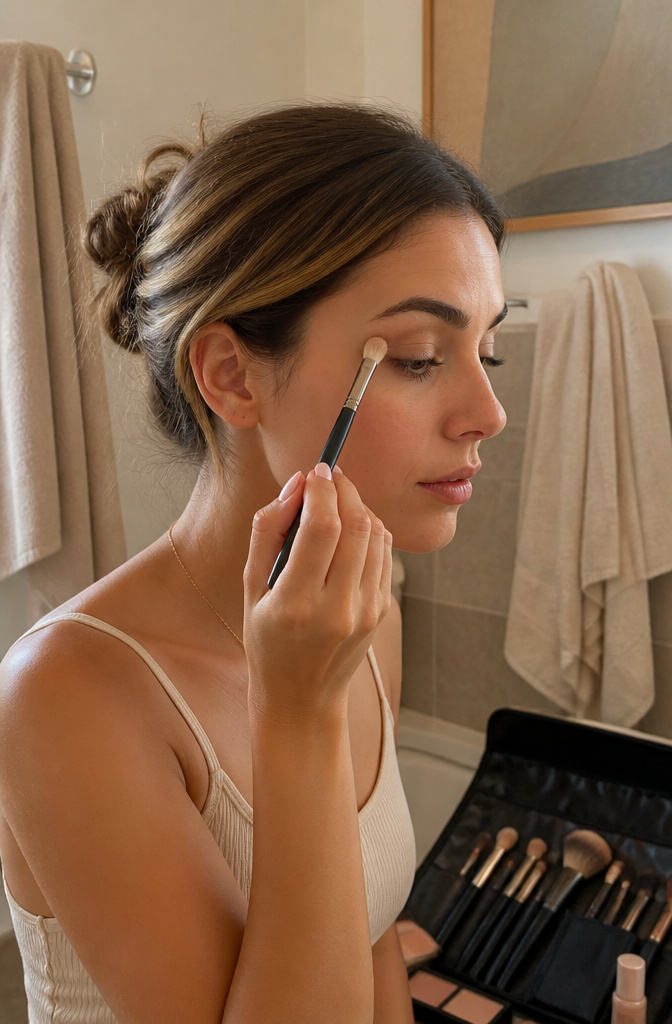
A clean blending brush does the real work in light brown eye makeup natural looks, and windshield wiper motions across the crease line keep the colors from turning muddy. Small circular buffing works too, starting at the inner corner and sweeping outward where the two shades meet, but the back-and-forth motion gives more control with brown tones that can ash out fast if overworked.
I used to skip this step when I was running late. The result was always the same: a stripe of lid color and a stripe of crease color with a visible seam between them, nothing like the airbrushed shadow fall the look is after. Ten to fifteen seconds of actual blending fixes it, not the two swipes I used to pretend counted.
The seamless finish takes maybe a minute per eye once the brush is clean. A dirty brush drags pigment where it doesn’t belong, and that’s usually what muddies the color, not the blending itself.
4. Highlight the Brow Bone and Inner Corner
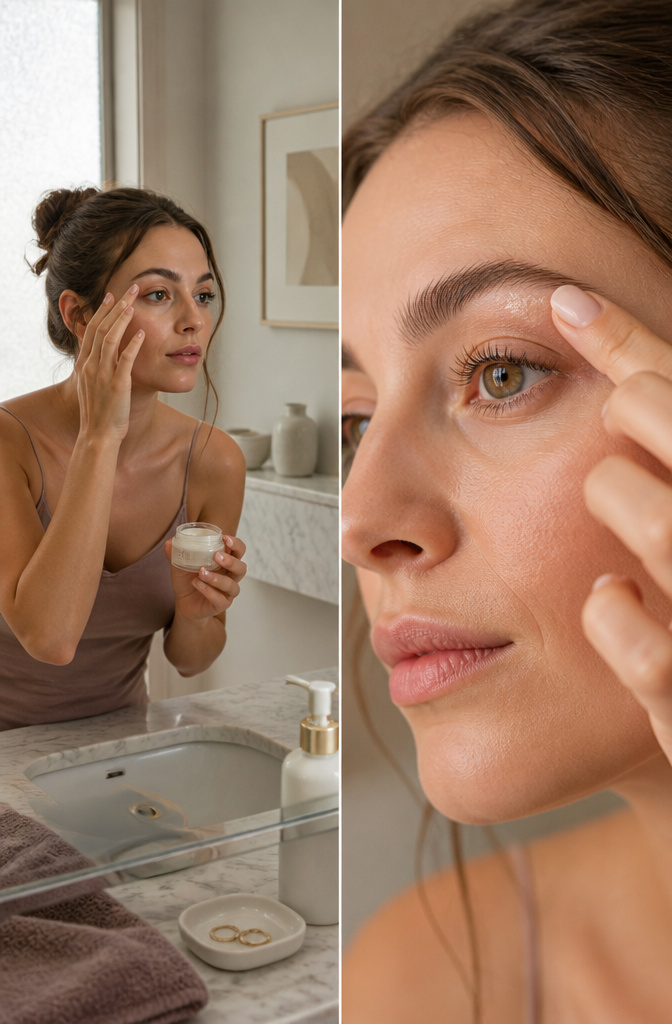
The two points that open up the eye sit right where bone meets light. A dab of highlighter under the arch of the brow lifts the whole lid without competing with the shadow above it. The inner corner gets the same treatment, catching daylight and pulling the eye outward. Both spots work because they catch light on actual bone structure, not on the mobile lid where shimmer turns to grease.
The texture matters more than the shade. Cream formulas with a satin finish read as skin that happens to glow, not as product sitting on top of it. Powder highlighters with visible micro-glitter fracture in natural light and age the look by about ten years. I learned this the hard way with a champagne shimmer that photographed fine and looked like stage makeup in person by 10 a.m.
A rice-grain amount split between both eyes is the ceiling. More than that, and the inner corner starts reading as tearful or sick rather than rested. The brow bone is even less forgiving; once the highlight sits on the brow hairs themselves, the whole face looks like a tutorial gone wrong. Tap, don’t sweep, and stop while it still looks like too little.
5. Line the Upper Lash Line
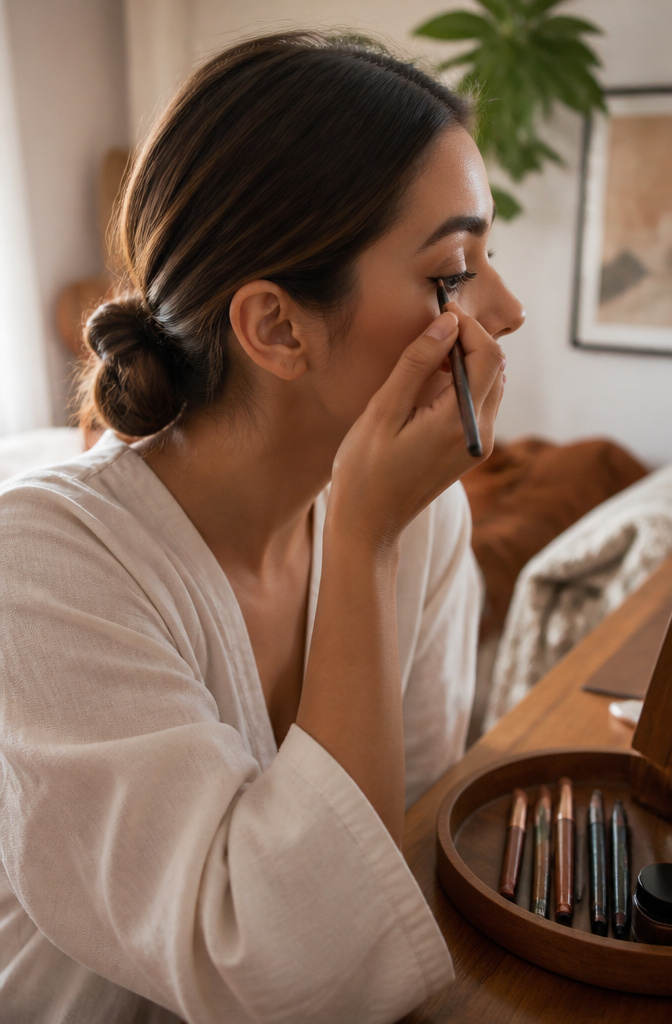
A thin line along the upper lashes gives light brown eye makeup its structure without announcing itself. Rest your elbow on a table or vanity edge, keep the pencil or gel tip almost vertical, and work in dots you connect rather than one sweeping stroke. The closer the line sits to the root, the more natural it reads; a millimetre of skin showing between lash and line breaks the illusion entirely.
Thickness should follow hair colour. Softer brown suits blonde or light brown hair; black or deep brown works for darker shades. I once pressed too hard with a soft kohl and ended with a band thick enough to read as evening makeup. The fix was a clean spoolie brushed sideways across the line while it was still slightly tacky, shearing off excess and diffusing what remained into the lash root itself. Tightlining, pushing pigment directly between the lashes from underneath, can replace visible liner entirely for the most restrained days, though it takes practice not to blink the product onto the eyeball.
6. Mascara Without Overdoing It
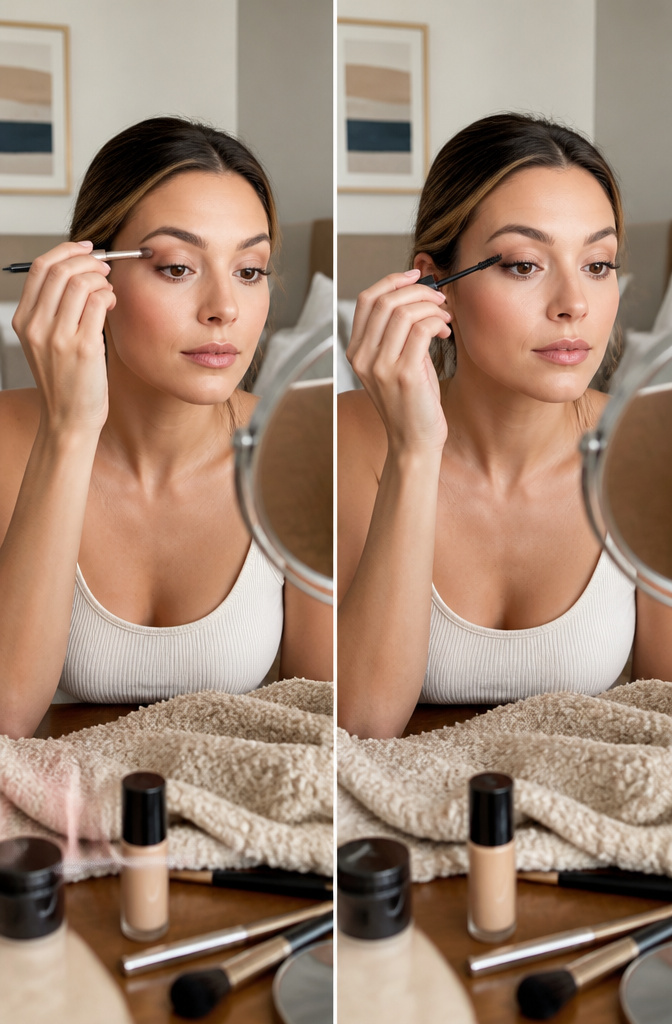
Lashes frame light brown eyes without adding color, so the wrong mascara undoes the rest of the work. Two thin coats of L’Oreal Telescopic Lift Mascara stay cleaner than one heavy pass, which is where clumping starts. The wand shape matters more than the formula for most people. A curved brush lifts round or downturned eyes at the outer corner; a straight, narrow brush reaches the smaller lashes on hooded lids without touching the brow bone. I stop when the lashes look slightly darker and defined, not when they stand apart like spikes. That second coat goes on while the first is still tacky, not dry, or the lashes glue together and the combing never recovers them. If you see a third coat forming spider legs, the fix is removal and restart, not more wiggling.
7. Optional Enhancements
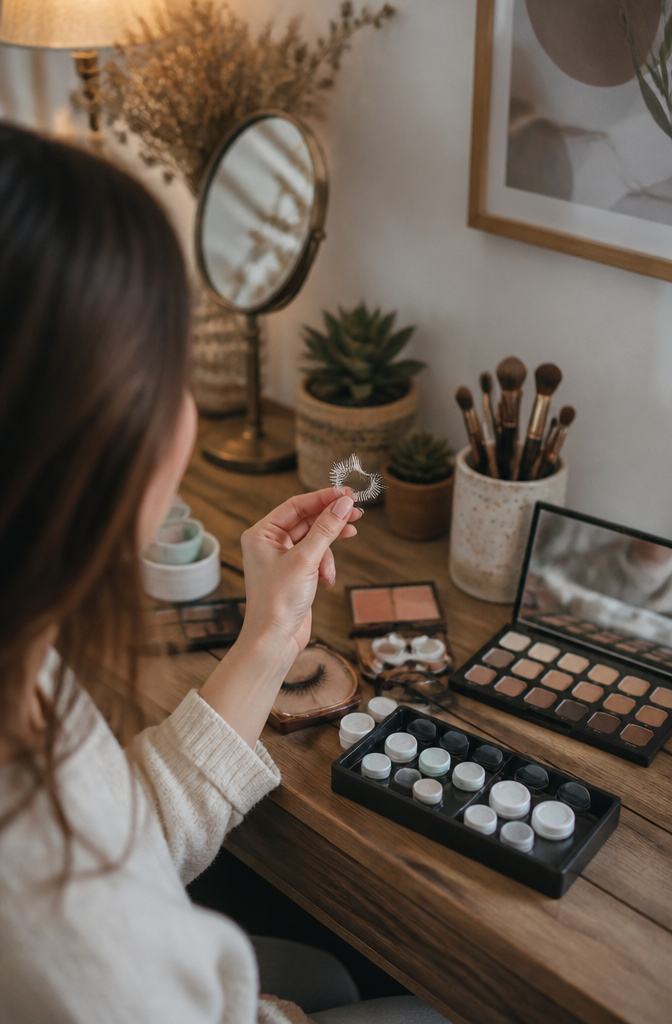
False lashes and colored contacts sit in that odd category of enhancements you try once to see if they earn a permanent drawer. I have short natural lashes, so the temptation is real. Velour Lashes in First Love or Minimalist, Ardell Naked 421 and 424, even DIY extensions applied to the underside, each got a two-week trial. The Velour pair stayed longest. The DIY route demanded morning precision I could not sustain, and the payoff never matched the clock time.
For light brown eyes specifically, colored contacts contradict the natural goal more often than they help. Brown eyes already shift with light and wardrobe; adding a lens risks that uncanny flatness where the iris looks painted, not lit from within. The 79% of people worldwide who share this eye color have a built-in chameleon quality that makeup can accent without masking. Contacts make sense only when the shade genuinely deepens dimension, not when it replaces what was already working.
The effort-to-reward ratio breaks cleanly here. False lashes, chosen right, add structure in five minutes. Colored contacts add fifteen minutes of handling, solution, and the nagging sense you are performing a version of yourself. One stayed in my rotation. The other did not.
8. Six Natural Looks for Light Brown Eyes
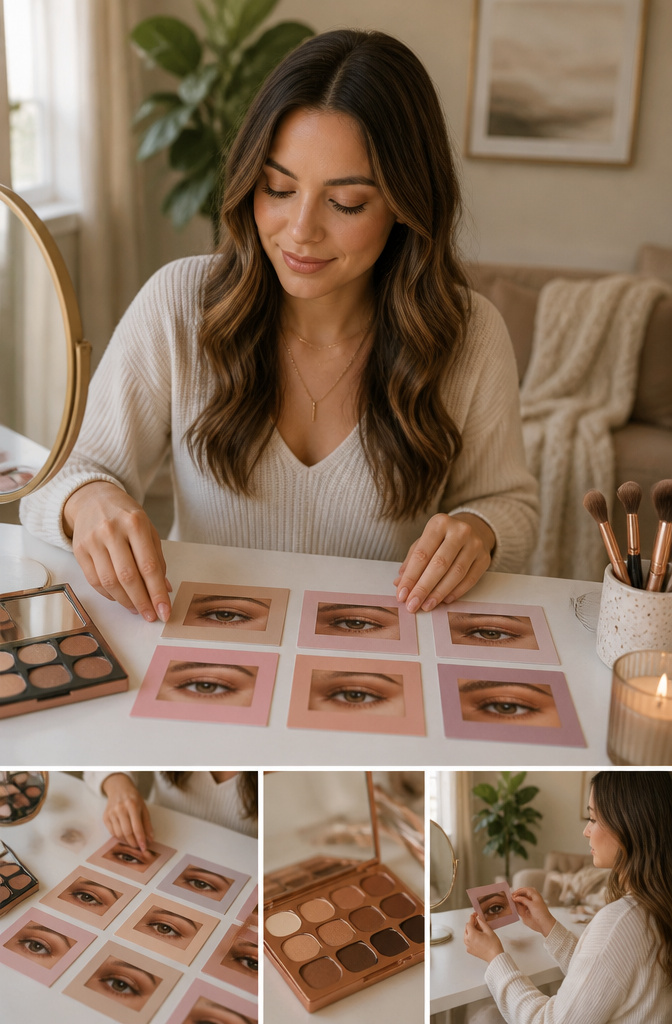
Six natural looks for light brown eyes cover the full range from office-appropriate to after-dark, and the distinction matters more than the color itself.
- Soft Bronze Glow pairs a single warm bronze wash across the lid with soft brown liner; it reads as polished skin rather than makeup and works for any day you need to look pulled together without trying.
- Classic Matte Cut Crease uses a matte camel or taupe to carve subtle depth at the socket line; this one translates straight from a 9 a.m. meeting to dinner because the matte finish keeps it from drifting into evening territory.
- Sunset Smoky Eye layers amber through rust in a diffused, blown-out shape; the warmth flatters light brown irises specifically, but the intensity lands it firmly in evening or special occasion territory.
- Chocolate Liner & Glossy Lid runs a deep brown pencil tight along the lashes and taps clear or nude gloss on the center lid; the contrast is striking enough for date night but the sheer gloss keeps it from reading as full glam.
- Gold Halo Eye places a soft gold shimmer on the inner and outer thirds of the lid, leaving the center matte and slightly deeper; the structure catches light in a way that photographs well for events but still looks correct in person.
- Warm Latte Eye blends three matte browns from cream through medium coffee with no shimmer anywhere; this is the most genuinely daily wearable of the set because it adds definition without any finish that catches light and announces itself.
The daily options are Soft Bronze Glow, Classic Matte Cut Crease, and Warm Latte Eye. The remaining three build enough intensity that they start to look like effort, which is the line most of us draw between workday and occasion makeup.
Tools and Products That Hold Up
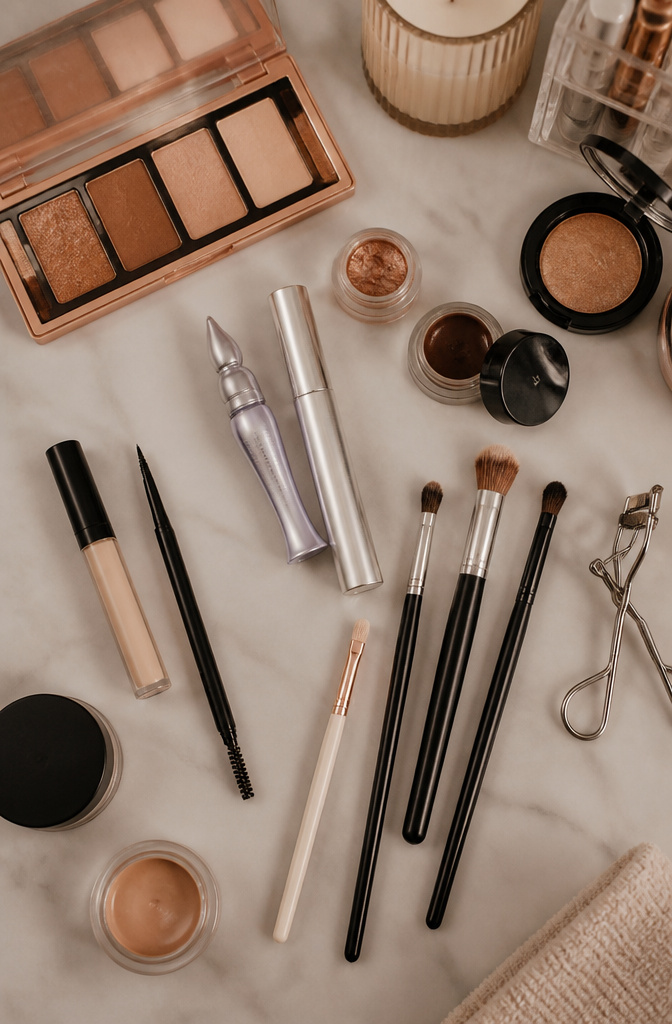
Cheap brushes shed fibers onto the lid by noon, so the upgrade matters. A flat shader for packing color and a tapered crease brush for softening edges are the two that get daily use; anything beyond that is optional until the technique is muscle memory.
Urban Decay Eyeshadow Primer is what finally stopped the midday creasing that drugstore primers never could. For concealer, the Natasha Denona Hy-Glam Concealer doubles as a lid base on lighter makeup days, which saves a step when the schedule is tight.
The L’Oreal Telescopic Lift Mascara holds curl without the weight that drags lashes straight by afternoon. A brown gel liner, applied with a thin angled brush, defines the lash line more softly than black for this particular look. Anastasia’s Brow Wiz fills gaps with strokes narrow enough to pass for actual hair, which frames the eye without announcing itself.
Skin prep came last in my own routine, not first. The Tatcha moisturizer and Ilia Super Serum Skin Tint with its SPF 40 went in only after a drugstore tinted moisturizer separated by 10 a.m. for six straight mornings. The Ilia melts in rather than sitting on top, and the serum texture means one layer does two jobs.
Skin Prep Before the First Swipe
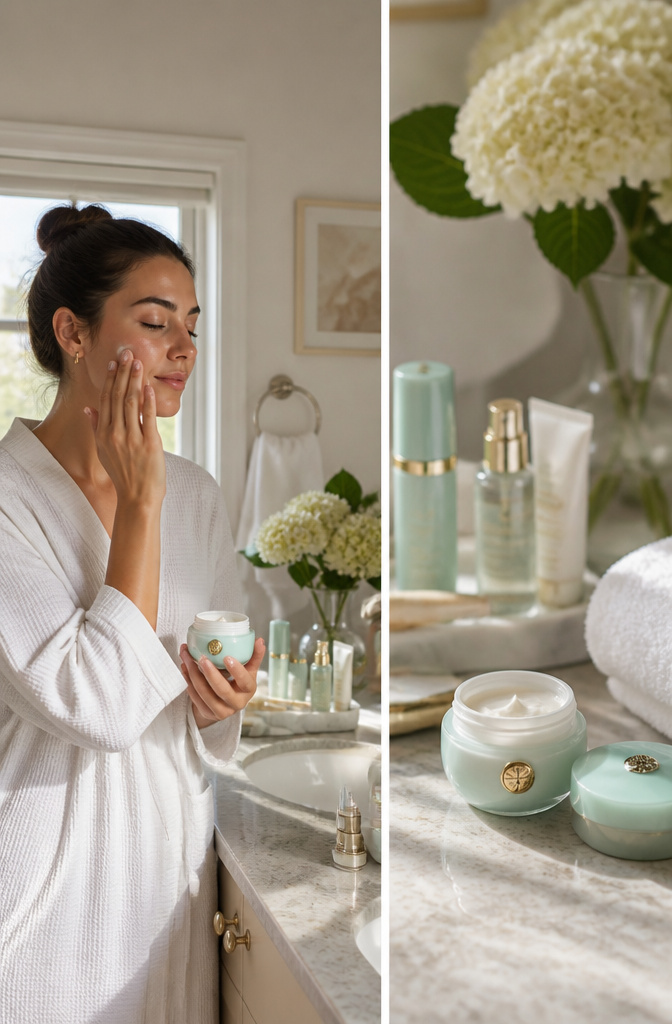
Hydrated skin changes how eyeshadow behaves more than most primers ever will. The Tatcha moisturizer I reach for leaves a satin finish that lets pigment grip without grabbing, which matters when you are working with soft browns that can turn muddy if they drag across dry patches. Dry lids, by contrast, drink in the color and leave it patchy within an hour; the same shadow looks like two different products depending on what sits underneath.
Eye cream sits even closer to the action. A hydrating treatment under the orbital bone, not on the lid itself, keeps the area from creasing later in the day. I learned this after a midday check in a bathroom mirror showed my shadow had settled into fine lines I did not know I had; the skin had pulled moisture from the makeup instead of the other way around.
Wait a full five minutes between the last skincare step and the first makeup swipe. Anything less and the products mix instead of layering, and you lose the finish you are after.
Frequently Asked Questions
What colors are best for brown eyes?
Taupes, browns, and earth tones sit against the skin like shadow rather than decoration, which is exactly what a natural look needs. Pick shades a few tones lighter than your skin to stay quiet enough for daytime without looking washed out. On deeper skin, warm taupes and light browns replace white or near-white bases that can read chalky.
How do I apply eyeshadow for a natural look?
Sweep a base color from lash line to brow bone with a medium-density brush, then blend where colors meet using windshield wiper motions across the crease. Highlight the brow bone and inner corner with a satin cream formula, and line the upper lash line thin and tight against the roots. Two thin coats of mascara finish it without clumping.
What eyeliner should I use for brown eyes?
Softer brown suits blonde or light brown hair, while black or deep brown works for darker shades. The line should sit as close to the lash root as possible; even a millimetre of skin showing breaks the natural illusion. For the most restrained days, tightlining from underneath can replace visible liner entirely.