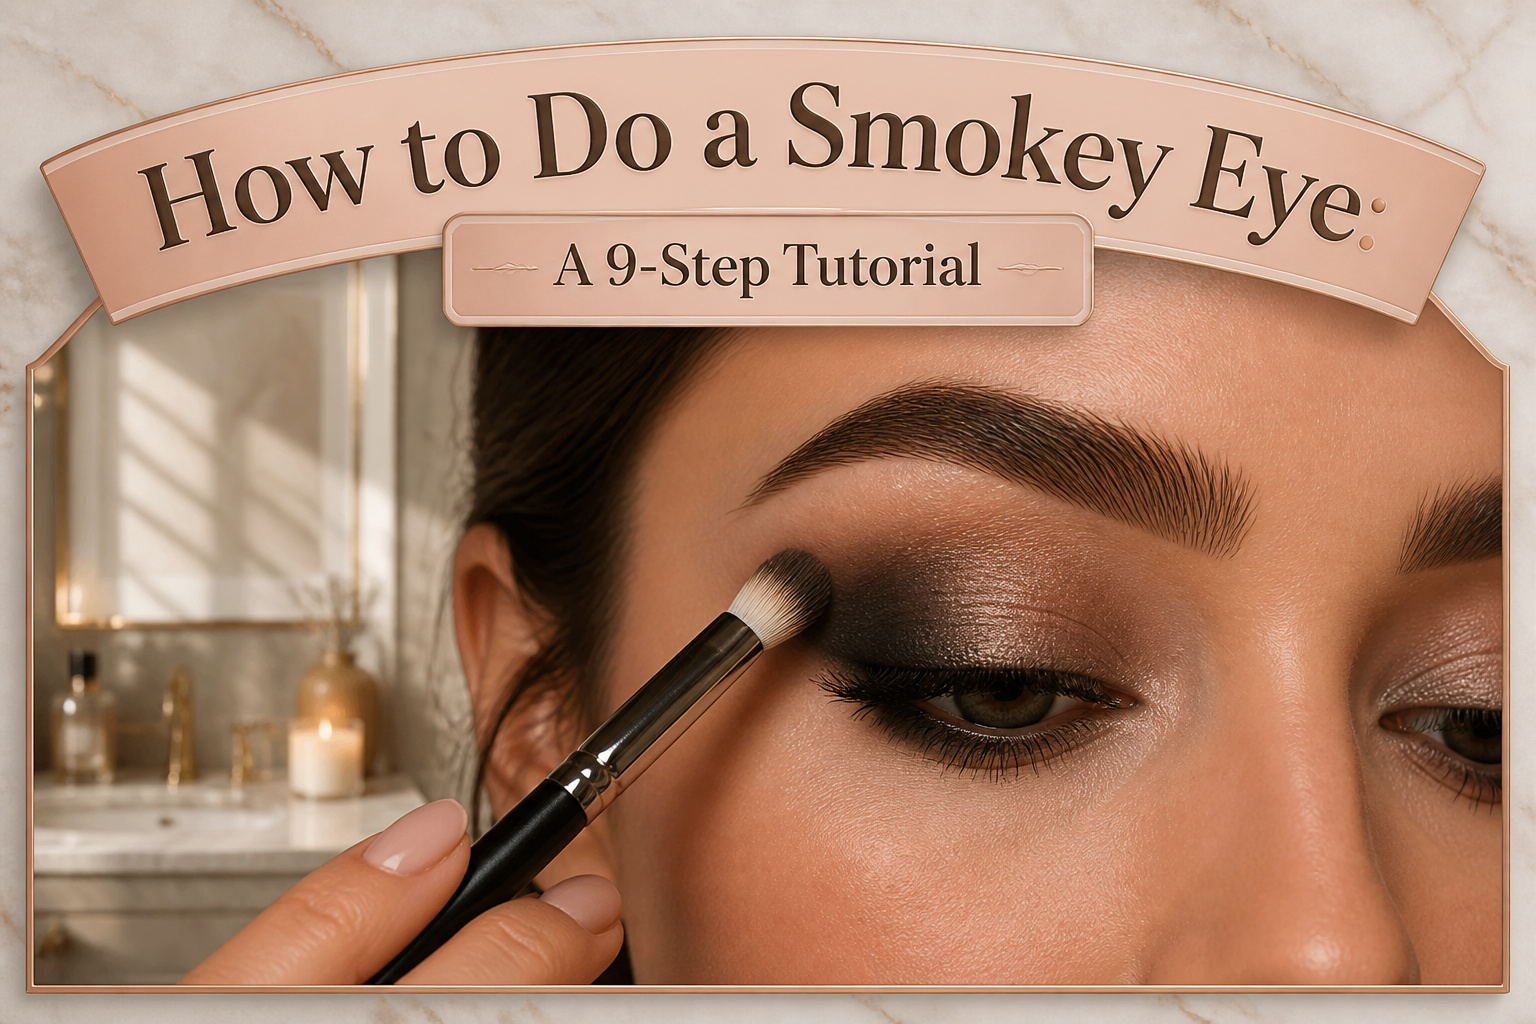
A finished smokey eye makeup look takes about fifteen minutes, three compatible shades, and one decision most people get wrong: stopping the blend before the colors melt into a single muddy wash.
The real cost is not the products, it is the patience to return to the same spot two or three times without overworking it.
Primer is the step that separates a look that lasts past dinner from one that creases by noon; Revlon ColorStay Eyeshadow Primer is what actually holds through a workday on oily lids.
1. Cleanse and Moisturize
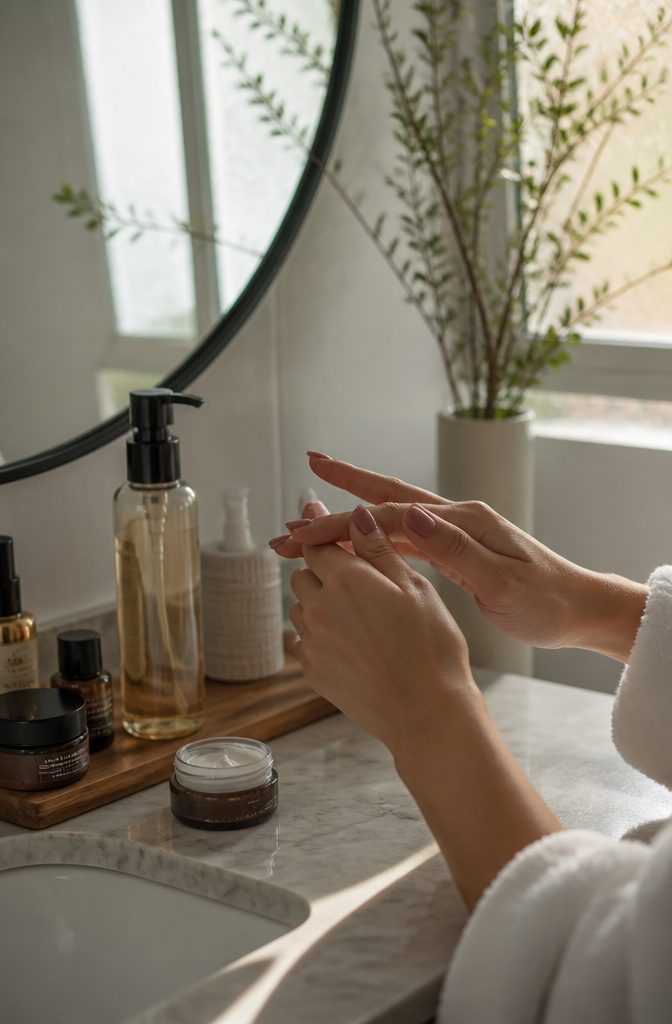
Smokey eye makeup sits better on skin that has been washed and treated first.
Oils left on the eyelids will break down pigment within a few hours, so a gentle, eye-safe cleanser removes the residue that causes patchy color. Water-based formulas work fine here; the goal is clean, not stripped.
Eye cream goes on next, and the timing matters. The moisture needs a minute to sink in before primer touches the area, or the layers slide against each other.
A light formula that targets puffiness and dark circles does two jobs: it smooths the surface for even shadow application, and it keeps the finished look from settling into fine lines by late afternoon.
Let the cream absorb fully before you reach for primer, or you will fight creasing for the rest of the steps.

Preps Lids for Eyeshadow: Apply a small amount to each lid to extend the wear of any eyeshadow. Even the loosest glitter pigments adhere with ease.
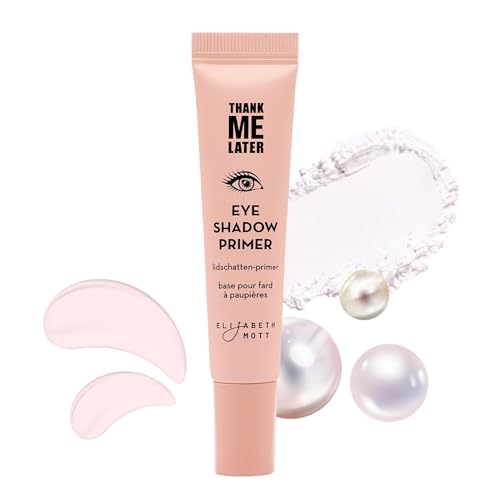
KOREAN BEAUTY INNOVATION: We work with the finest Korean manufacturers to bring the best Korean skincare, korean eye primers and beauty to you; our eye primer for older women and all ages is infused with effective Korean ingredients and breakthrough formulas; cruelty-free, Leaping Bunny approved, dermatologist and allergy tested

Long-lasting, Crease-resistant Wear: Urban Decay Eyeshadow Primer Potion creates a smooth, even-looking base that helps eyeshadow stay vibrant and crease-resistant for up to 8 hours. The Original nude formula dries translucent to let eyeshadow color pop while helping prevent fading. Wear alone for a natural nude look or layer under shadow to create a smooth canvas for any eye look, from soft everyday definition to bold, dramatic color.
2. Apply Primer
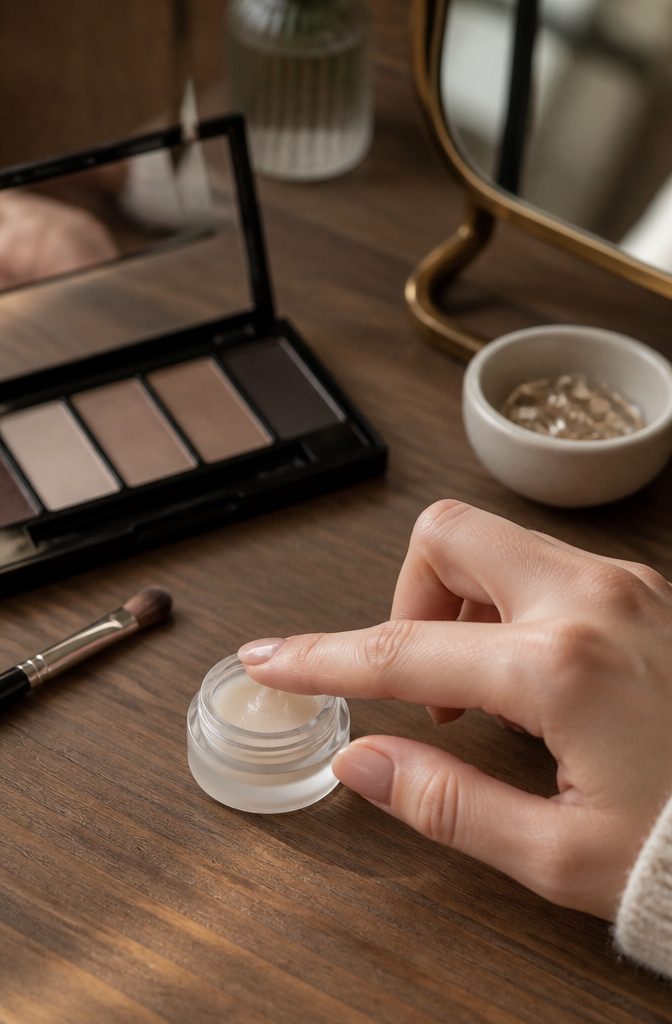
Eyelid primer is the step most people skip and the one that makes the difference between a smokey eye that lasts until midnight and one that creases by hour three.
On my oily lids, the shadow pools and breaks down fast without it. The primer gives the pigment something to grip and keeps the blend from turning muddy.
Revlon ColorStay Eyeshadow Primer is lightweight, works across skin tones, and holds shadow up to 24 hours while blocking the creasing, smudging, and fading that ruins the look.
A dot on a clean fingertip or brush, smoothed from the lid up toward the brow bone, does the job.
Let it set for 30 seconds before you reach for the first shade. That half-minute is what keeps the color payoff vibrant and the blend smooth from the first layer to the last.

Cool-Toned & Ready - Full of cool, neutral taupe shadows in matte and metallic finishes to create the most flattering looks from smokey to everyday, natural makeup.

【❤All-in-One Makeup Pallet for Teens & Women】UCANBE Pretty All Set make up palette features 86 versatile & ultra-blendable shades, including 80 eyeshadows, 2 highlighters, 2 blushes, and 2 contours. Pigmented eye shades ranges from black gray white silver goth eye makeup shades to bright rainbow colors to sparkling metallic glitters to rose rustic nudes & brown taupe neutrals, and multi-finishes ranges from smooth mattes to velvety shimmers to dazzling metallic to fine pressed glitters.

Deja Brew - Go for a coffee run with 9 cool-toned nudes and shimmering taupes in Matte, Metallic and Matte Sparkle finishes! Your new go-to, create everyday looks to soft glam with this essential palette!
3. Base Shade
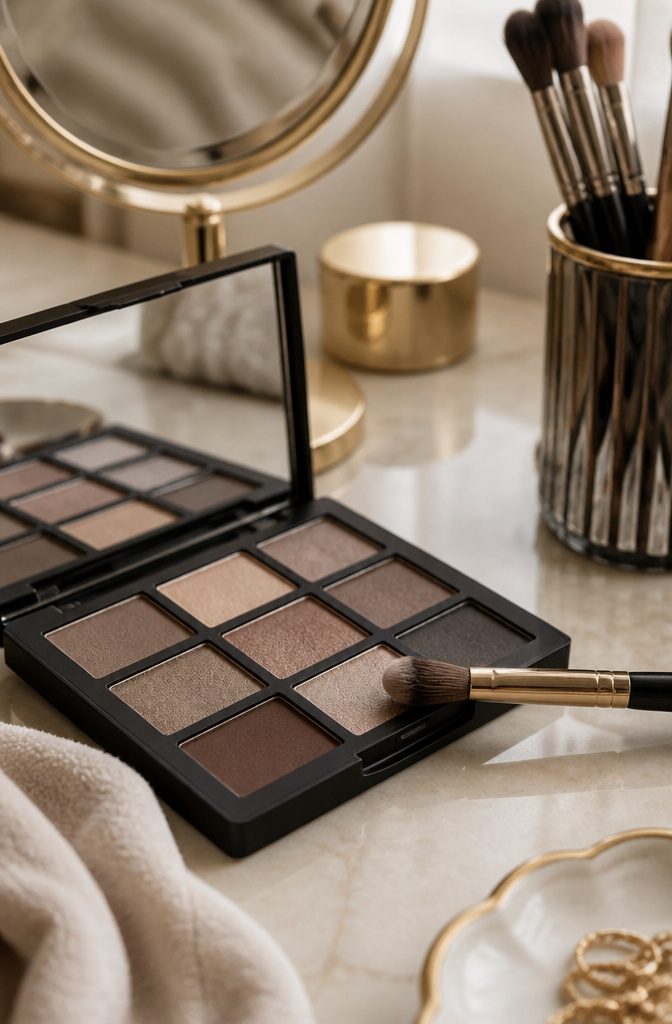
A smooth base layer makes the blend possible later, and that starts with a light to mid-toned shadow swept across the entire lid.
The color matters less than the family: cool-toned looks can lean on soft stone or taupe, while warmer approaches work with a light pinky-nude.
This is where the three-shade rule begins. You need one light, one medium, and one dark tone, all within the same family.
A classic brown or gray smokey eye might use a skin-tone base, a mid crease shade, and a deep charcoal at the lash line. For color, think navy, steel blue, and a gray-toned highlight.
The base shade sets the range; everything else builds from it. Skip this step and the darker colors grab unevenly, especially on lids with any natural discoloration.
A matte shadow slightly deeper than your skin tone, blended into and above the crease, bridges the base and the drama to come.

Matte & Shimmer Shades for Every Look: From everyday nudes and taupes to bolder statement shades, this eyeshadow stick set lets you switch from soft matte definition to luminous shimmer in seconds. Perfect for quick daytime makeup, date nights, and effortless smoky eyes

✦MATTE AND SHIMMER COLORS: Both matte shadows and shimmers have velvet creamy texture in range of metallic, satin, and matte finishes. Each color is unique, easy to layer and blend. You can use base primer for better application. If you get a damaged eyeshadow palette, please feel free to contact us for a best solution.

4. Define the Crease
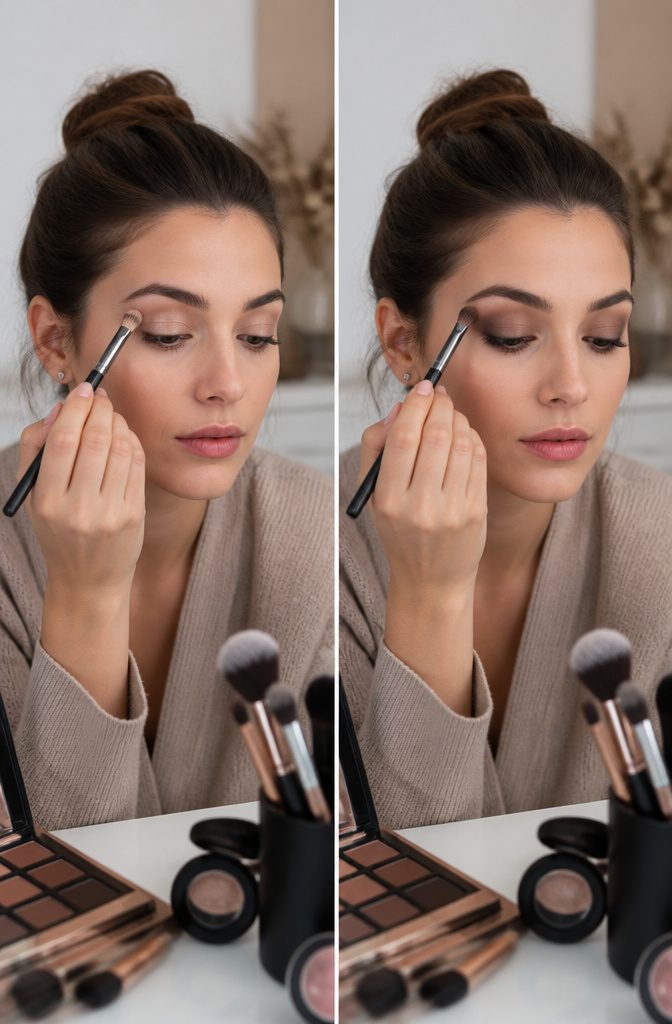
A slightly darker matte shadow builds the structure of the smokey eye makeup look.
I work it into the crease with small, circular blending motions, keeping the pressure light enough that pigment deposits gradually rather than landing in a single stripe.
For hooded eyes, place this shade slightly above the natural fold so it remains visible when the lid opens; on round eyes, concentrate more pigment toward the outer corner and sweep it outward to visually elongate the shape.
Ultra-dark eyeshadows can make the eyes appear smaller and may visually weigh down hooded eyes. As such, we recommend swapping out the black eyeshadow for a medium brown shade, like the L’Oréal Paris Paradise Le Shadow Stick in Brown Bliss. Apply a small amount of eyeshadow and then smudge it onto your entire lid, blending it above the crease and just past the outer corner of your eye.
This means the crease definition step is where you establish depth without closing in the eye. The medium brown reads as shadow rather than harsh line, and the placement above the natural fold keeps the dimension visible for hooded shapes.

CREATE THE ULTIMATE SMOKY EYE: The classic smoky eye isn't as hard to achieve as it looks! Use these brushes to precisely apply and blend out colors for the perfect smoky eye.
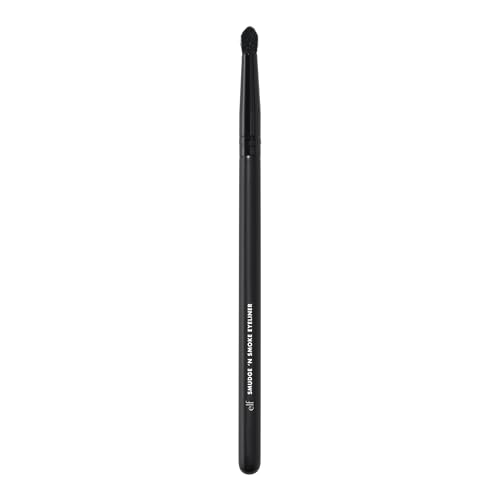
SMOKY EYELINER BRUSH: Eyeliner brush with densely packed bristles for creating smoky eyeliner looks.

THE ULTIMATE EYESHADOW BLENDING BRUSH: This synthetic haired brush is soft and absorbent, and it's medium size gives more control for specific blending needs.
5. Intensify the Outer Corner
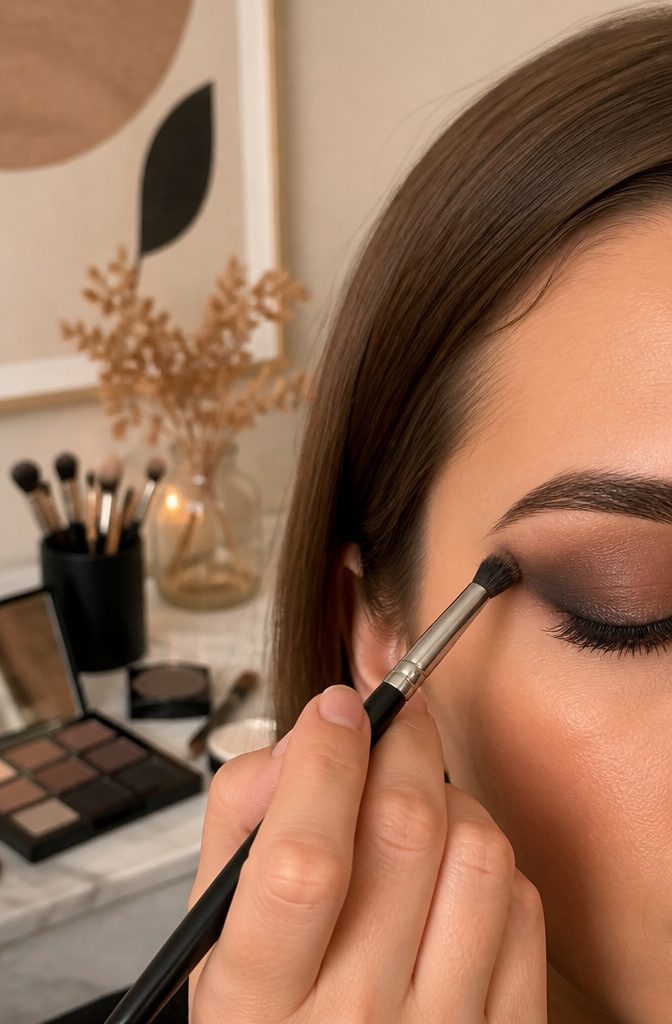
A smokey eye reads as smokey rather than just dark because of where the depth sits.
The darkest shadow belongs on the outer corner, pressed into the skin with a blending brush and worked upward and outward until it melts into the lighter shade already on the lid.
Keep that darkest color away from the brow bone; letting it climb too high shrinks the eye and flattens the shape.
The gradient matters more than the darkness itself.
A traditional smokey eye uses three shades: the deepest tone anchors the outer corner, a transitional color covers the center of the lid to bridge light and dark, and a lighter shade brightens the inner corner.
Without that progression, the look collapses into a single muddy wash.
Blend the outer corner color toward the center, not the other way around, so the depth stays concentrated where it defines the eye’s shape rather than dragging the whole lid downward.
Some tutorials suggest taking the darker shade across the entire outer half of the lid and up toward the brow bone to make eyes appear more open.
The difference is worth noticing: that approach lifts the eye shape but sacrifices some of the concentrated drama that makes a smokey eye recognizable. For the classic version, the outer corner alone carries the weight.

TARGETS DARK CIRCLES, PUFFINESS & FINE LINES: Refresh tired-looking eyes with this retinol eye serum. Formulated to visibly reduce the appearance of dark circles, puffiness, fine lines, and wrinkles while helping improve skin firmness and hydration. The lightweight formula absorbs quickly without feeling greasy, making it suitable for daily use and gentle enough for most skin types.

A delicate eye cream suitable for tired, fatigued eyes, providing a burst of hydration and energy to the eye area. Paraben and Silicone-free to maximum moisture without irritation.

Targets Dark Circles, Puffiness & Fine Lines: Helps visibly reduce puffiness, brighten dark circles, and improve the appearance of fine lines for a smoother, more refreshed, and awake-looking eye area—ideal for your morning routine.
6. Highlight the Inner Corner
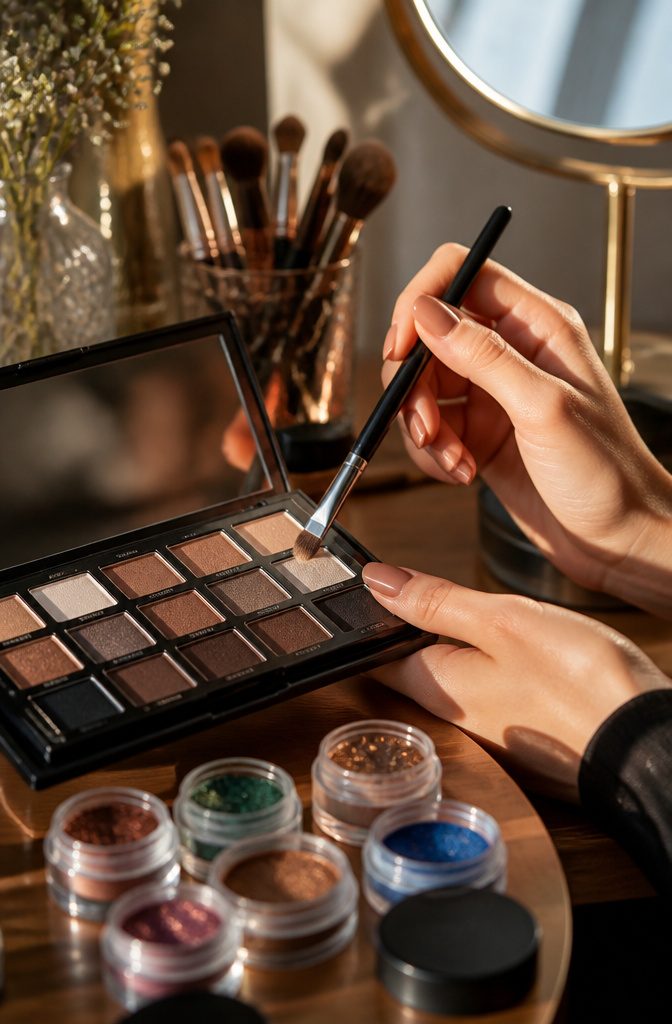
A smokey eye can flatten into one muddy plane if every shade stays the same depth.
The inner corner is where you break that spell. A lighter tone, patted precisely at the tear duct, catches light and pushes the eye forward so the darker layers behind it have something to read against.
I keep a small shadow brush reserved for this spot alone. The L’Oréal Paris Paradise Le Shadow Stick in Ice Sparkle works here, or any shade one to two tones lighter than your base.
Pat, don’t sweep: the goal is a concentrated point of brightness, not a wash that drifts into the lid and kills the gradient you built.
Matte highlights give a clean, lifted effect if your lids are textured or hooded.
Shimmer does the same work but reads more evening. Either way, blend the edge where it meets your deeper shadow so the transition looks intentional, not like two separate looks colliding.
The sources split on technique here. One route uses the same light shade swept from crease to brow bone to smooth everything, then dabs the extra at the inner corner for that "coffee for your face" effect.
The other keeps the brow bone separate and makes the inner corner its own deliberate accent. I prefer the second: it keeps the architecture cleaner, and the contrast feels sharper when the highlight isn’t doing double duty.
Skip this step and the whole look pulls inward, the dark tones swallowing the eye shape you just spent six steps defining. Thirty seconds of patting fixes it.

MAXIMIZES PIGMENT & COLOR PAYOFF: Meet your eyeshadow's secret weapon for bold and vibrant color. Our Stay Put Eye Primer intensifies the pigment of any shadow—from mattes and shimmers to metallics and gels—ensuring your look pops with professional-grade intensity

LONG-LASTING EYESHADOW BASE: Smooth, creamy primer helps lock down shadow for all-day wear and reduces fading or creasing. Boosts color intensity for vibrant eye looks.
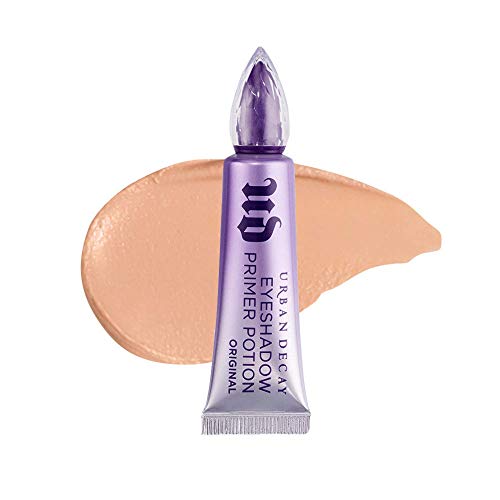
Long-lasting, Crease-resistant Wear: Urban Decay Eyeshadow Primer Potion creates a smooth, even-looking base that helps eyeshadow stay vibrant and crease-resistant for up to 8 hours. The Original nude formula dries translucent to let eyeshadow color pop while helping prevent fading. Wear alone for a natural nude look or layer under shadow to create a smooth canvas for any eye look, from soft everyday definition to bold, dramatic color.
7. Blend
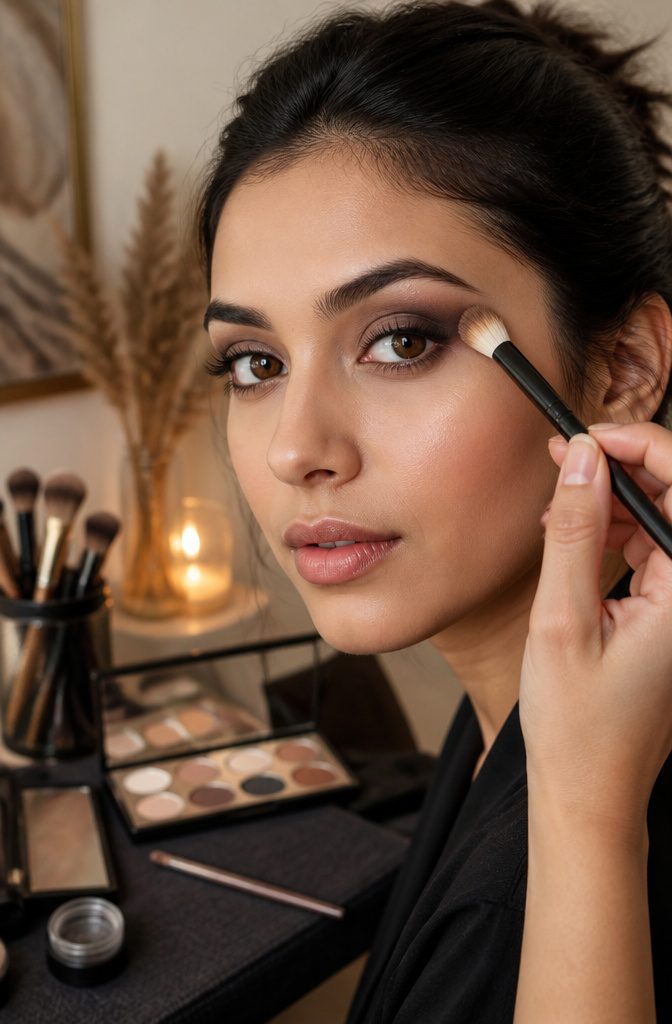
The difference between a polished smokey eye and a muddy smear is almost always time spent blending.
This is the step that drags, and it is the step that matters most. I keep a clean fluffy brush in my free hand while I work, using it to soften every edge the moment a new shade goes down.
A smudge brush handles the tighter spaces along the lash line where pigment tends to collect.
Each color should fade into the next with no line you can point to, and that means returning to the same spot two or three times before moving on.
Work the shadow upward and outward, stopping well short of the brow bone, since dark pigment that high can make the eye look smaller.
The outer V especially demands patience: build, diffuse, step back, repeat. Rushing here is what turns a smokey eye into a bruise.

【ALL-MATTE EYESHADOW FOR MATURE WOMEN】Erinde 10-color eyeshadow palette series 04# Cement, "ALL MATTE" eyeshadow palette with a range of warm and cool tones, from soft matte light gray to rich dark brown, suitable for older women who like natural eye makeup and young people who need dignified eye makeup.

1️⃣ Cool Taupe Matte Eyeshadow for Daily & Smokey Makeup This matte eyeshadow palette features cool taupe eyeshadow, grey brown and charcoal shades, perfect for daily makeup, office makeup and smokey eye makeup, especially suitable for mature women and mature eyes.

【Vibrant Color Selection】Choose from 22 stunning shades, including 15 mattes (Snow, Gray, Spicy, Forest, Sea, Blue Sky, Dark, Buff, Coffee, Light Beige, Misty Mauve Gray, Dusty Rose Pink, Caramel Brown, Misty Taupe, Earthy Brown), 3 soft shimmers (Blue Spark, Tapestry Taupe, Cocoa Brown Shimmer ), and 4 high-shine glitter shades (Moonlight, Saturn, Glass, Champagne), perfect for daily wear, festivals, and performances.
8. Add Eyeliner
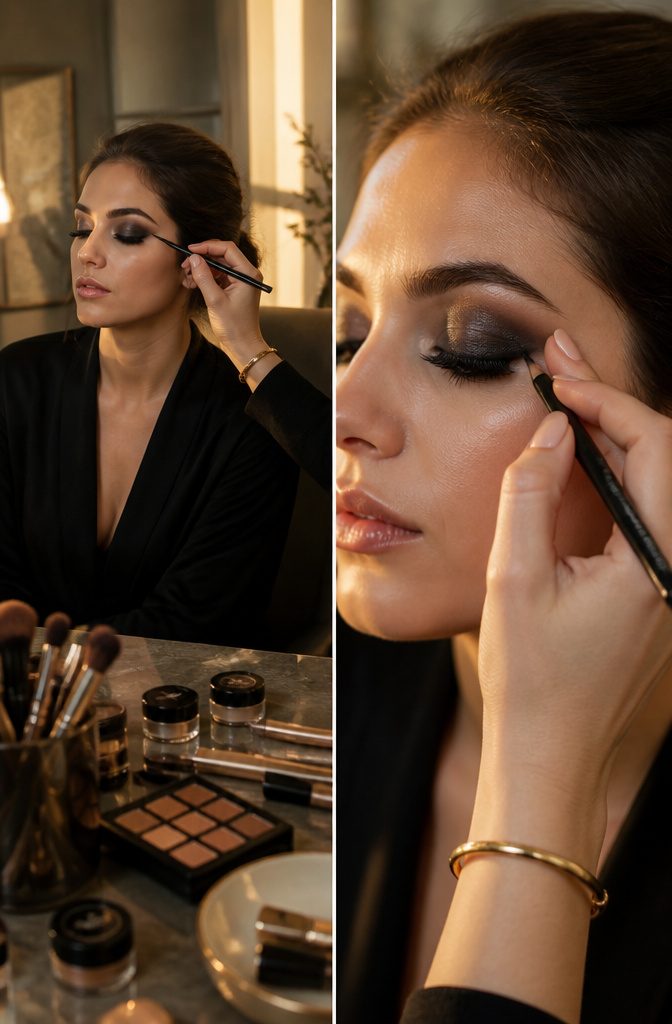
Gel liner gives the most control for a true smokey eye, though a soft pencil works if you smudge fast.
Patrick Ta’s method starts with tightlining the upper and lower waterlines first, which darkens the root of the lashes without showing a hard stripe above them.
From there, trace the lower lash line and immediately soften the edge with a small brush before the product sets; once gel dries, it stays, and the whole point of this step is diffusion, not a crisp wing.
For a softer line that still lasts, a cream shadow stick does the same job with less precision required.
Laura Mercier’s Caviar Stick and Glo Skin Beauty’s Cream Stay Shadow Stick in Echo both line and smudge in one move; sketch along the upper lash line, connect to the outer lower corner if you want that winged shape, and blend outward with a fingertip.
The 12-hour wear claim on the Glo stick matches what I’ve found: cream formulas set more slowly than gel, so you have time to blur, but they lock in once they do.
At $26, the Cream Stay Shadow Stick sits below most prestige gel liners and replaces two products if you also use it in the crease.
Powder shadow layered over any liner deepens the smoke without adding thickness. A dark eyeshadow pressed along the outer upper lash line with an eyeliner brush fattens the lash base and keeps the look dimensional rather than flat.

Long-Lasting Color: Wugbc cream eyeshadow stick provides highly pigmented vibrant shades in one swipe- no patchiness! The smooth creamy texture glides on effortlessly and stays for long lasting wear without fading or creasing. Suitable for daily makeup or special events

SELF-SHARPENING EYE PENCIL: Need a waterproof, sweat-resistant liner that locks in for the long haul? Want captivating color that glides on like a dream? Stay Put Eyeliner supercharges your look in just a single stroke.

LASTING EYELINER: Rich color looks freshly applied all day long; transfer-proof, waterproof, smudge-proof and fade-proof
9. Finish with Mascara
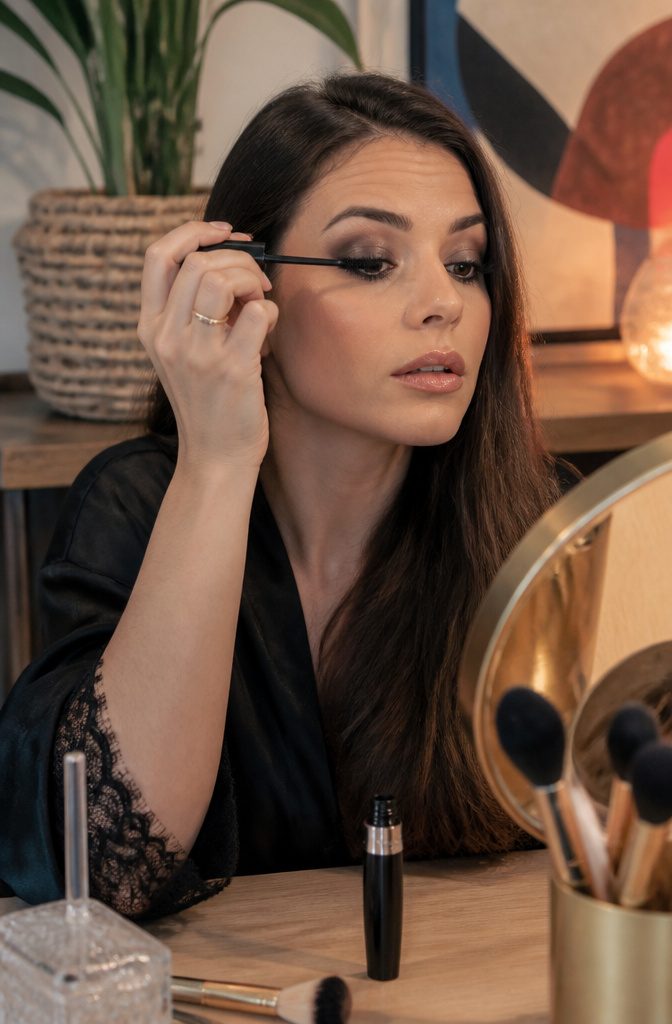
Mascara is where a smokey eye either holds together or falls apart. The shadow work underneath is vulnerable; one wrong formula and you’ve got raccoon rings by noon.
Upper lashes only keeps the lift you built with shadow. The lower lash line already carries enough darkness from the blend, and adding mascara there can close the eye in.
Patrick Ta’s approach is curl first, coat second, and I follow that order because a curled lash needs less product to look finished.
For the product itself, humidity is the enemy of a smokey eye. L’Oréal Paris Voluminous Lash Paradise Waterproof Mascara is the one I reach for when I need the shadow to stay put underneath.
It holds through heat without smudging the work beneath it, which is the only test that matters once you step outside.

EcoTools Enhancing Eye Makeup Brush Set creates the perfect eyeshadow look with (1) Shade + Define Eye Brush Duo and (1) Smudge + Blend Eye Brush Duo - ideal for eye makeup application
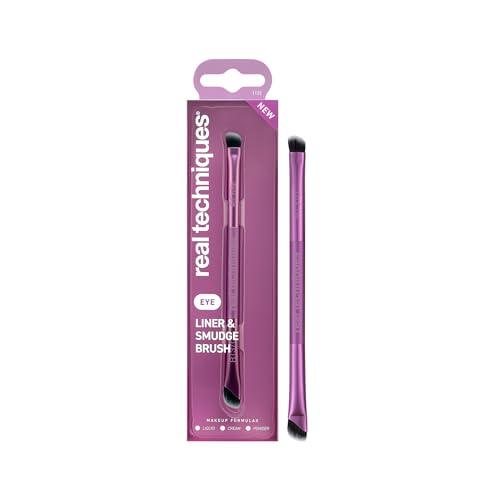
Eye makeup brush- Real Techniques Liner & Smudge Brush (RT 370) is a dual-ended precision brush that creates washes of color and crisp lines- best for eyeliner, eyeshadow and smoky eye looks

Great Gift Choice: This makeup brush set come with a beautiful gift box and provides a complete makeup solution. Whether it is given to yours or as a gift to yourself,your mother,or friends, it will make people scream. You can't imagine how much the make up brushes set is popular by women. Everyone deserve such a precious gift.
Types of Smokey Eye Looks
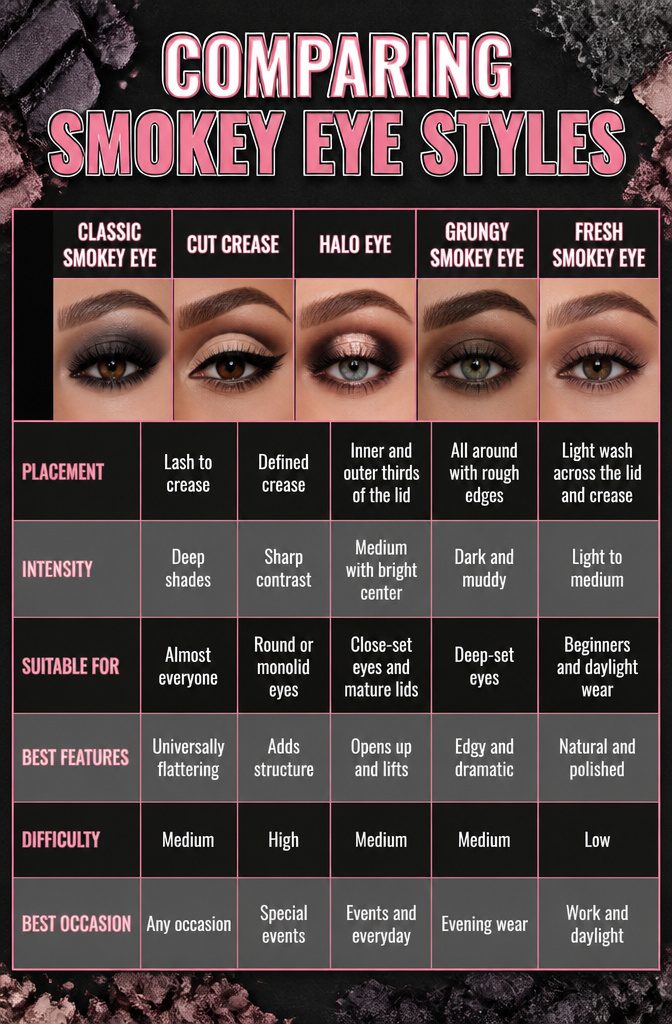
A smokey eye is not one uniform look. The five styles below differ in placement, intensity, and the amount of lid space they consume, so the right choice depends on your eye shape and how much time you have.
- Classic Smokey Eye layers deep, blended shades from lash line to crease with no hard edges. It suits almost everyone, though hooded lids need extra blending time to keep the darkness from closing in the eye.
- Cut Crease carves a sharp, defined line through the crease with concealer, leaving the lid shade clean and separate. It adds structure to round eyes and gives monolids a visible fold, but the precision takes practice and a steady hand with a small brush.
- Halo Eye places the darkest color on the inner and outer thirds of the lid, leaving the center bright with shimmer or a light matte. It opens up close-set eyes and works well on mature lids since the light center lifts without competing with crepe texture.
- Grungy Smokey Eye uses darker, muddier tones like charcoal, forest green, or burgundy with deliberately rough edges. The undone quality flatters deep-set eyes and pairs with evening wear, though the messier blend can read as tired on lighter skin tones if the under-eye is not corrected.
- Fresh Smokey Eye keeps everything lighter: taupe, soft brown, or rose with a whisper of definition rather than density. It is the only version that reads professional in daylight and the safest starting point for beginners who want the shape without the drama.

[ UNDER EYE CREAM ] Puffy eye cream helps reduce puffiness in the under eye area. Depuffing eye cream with a non-greasy finish that leaves under eyes looking hydrated, smooth, brightened, and more awake.

PROVEN RESULTS: RoC eye cream with retinol combines RoC Retinol & our mineral complex. This hypoallergenic cream was designed for dramatic results but gentle enough for daily use. Make your eyes look 10 years younger.

Targets Multiple Eye Concerns – This retinol eye cream helps visibly smooth the appearance of fine lines, improve dark circles and under‑eye bags for revitalized under‑eye skin
Eye Shape Adaptation
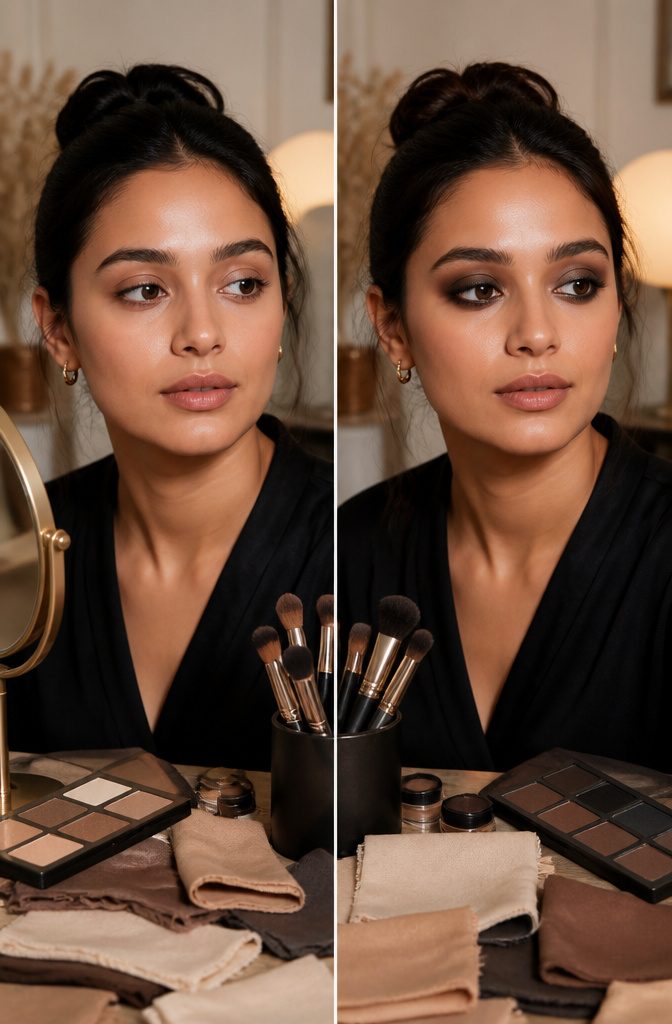
Hooded eyes demand the most deliberate shift in placement. The natural crease disappears when you open your eyes fully, so the darkest shadow has to sit higher than the fold itself, visible with the lid at rest.
I keep the transition shade well above where my crease technically falls, almost to the brow bone, or the whole look collapses into a single muddy line.
Round eyes need the opposite problem solved.
The goal is elongation, not enlargement, which means building the outer V with real commitment. I pull the darkest color past the lash line’s natural endpoint and soften it upward at an angle, never rounding it back inward.
The inner corner stays comparatively quiet; a bright highlight there only emphasizes the shape I’m trying to flatten.
Small eyes fight against anything that closes them in.
The darkest shade stays tight to the upper and lower lash lines, no higher than the socket’s natural depth, while the inner corner gets the lightest, most reflective shade I own, applied generously.
The contrast creates the illusion of space that a heavy lid would steal.
Almond eyes carry the standard tutorial almost unchanged. The shape already holds the gradient the technique wants: depth at the outer corner, light at the inner, a smooth bridge between.
Minor adjustment to the angle of the outer V, maybe a degree or two sharper, and the work is done.
What I Use and What I Skip
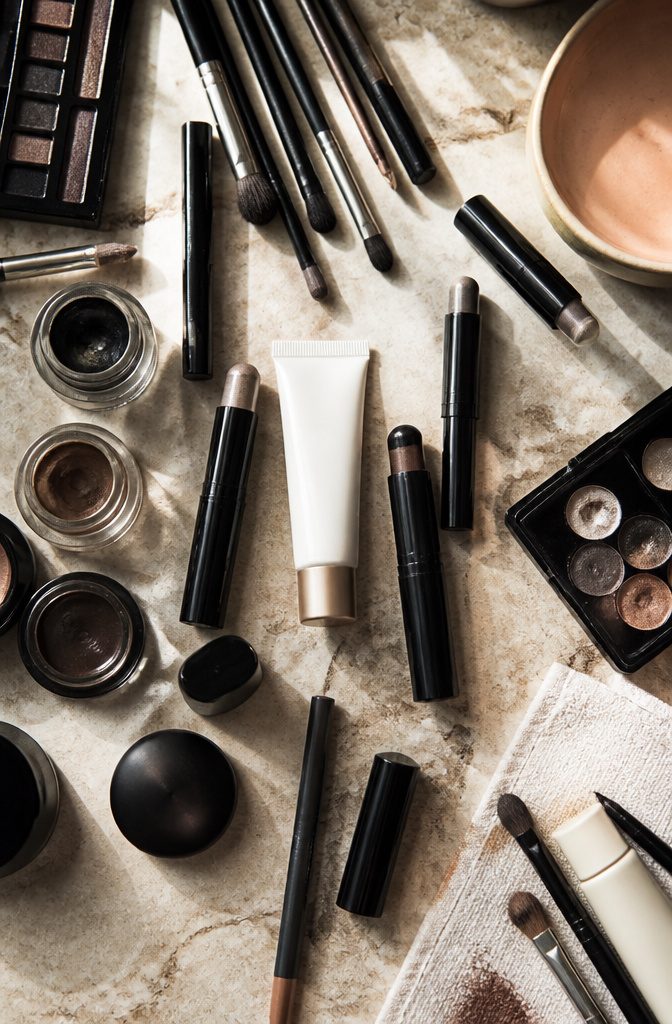
Primer matters more than almost anyone admits. Revlon ColorStay Eyeshadow Primer is what I have actually bought twice, because everything else creased on me by noon.
The 24-hour hold is the figure that matters, not the marketing; it buys you time to blend and still looks intact at dinner.
For the shadow itself, I reach for Cream Stay Shadow Stick and Caviar Stick Eye Shadow interchangeably. The stick format is what keeps me honest, because I can see exactly where pigment lands before I start buffing.
I have passed on Bonbon specifically, tested once and found it too warm against my skin tone, though the formula itself is sound.
Bronzer in the crease sounds like a hack until you try the right one.
L’Oréal Paris Infallible Fresh Wear bronzer works on medium skin tones because it carries enough red to read as depth rather than dirt. I have not repurchased it, but I finished the pan, which is the test that counts.
Mascara is where I am less patient. L’Oréal Paris Voluminous Lash Paradise Waterproof Mascara has gone on every trip with me since I learned that regular formulas surrender to the sheer pigment load of a real smokey eye.
Waterproof is not optional once you are layering powder this dark.
What I skip: cream pots that require a brush, any shadow labeled "buttery" that translates to fallout, and palettes where three shades look identical on the lid. The fewer decisions between stick and face, the better the result.
Common Mistakes I Made
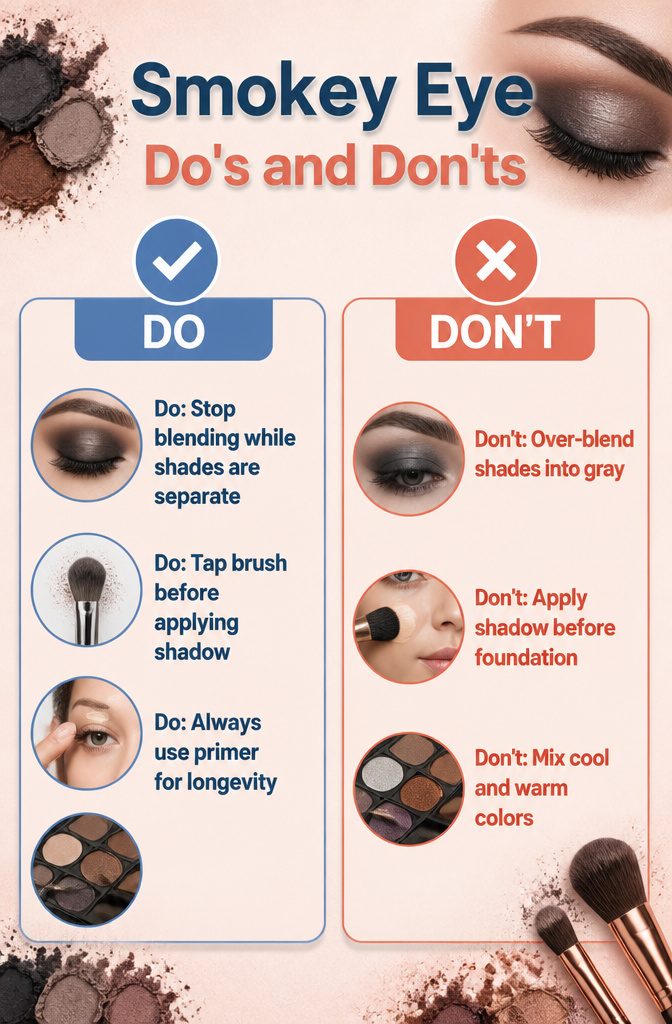
Over-blending was the first trap I fell into, back when I thought a smokey eye meant working every shade until they disappeared into one muddy bruise.
The Revlon guidance on limiting brush strokes and building gradually took me a while to trust; I kept going until the charcoal, taupe, and deep brown all became the same dull gray.
Stop blending while the shades still read as separate is the rule I finally wrote on a Post-it.
Fallout taught me harder lessons. I used to do full foundation first, then shadow, which meant wiping away scattered pigment pulled my concealer with it.
Switching the order helped, but so did tapping the brush before it touched my lid. Cream formulas and hybrid powder-creams scatter far less, something I noticed only after ruining a finished face before a dinner in March.
Skipping primer cost me a full workday once.
By noon the shadow had migrated to my crease in a single oily line, and I spent the afternoon in meetings aware my left eye looked like a smudged print. Now primer goes on every time, no exceptions.
The worst mistake was piling cool silvers, warm bronzes, and a purple I loved into one look.
Three color families on a single lid compete instead of layer. I keep it to one family now, maybe two adjacent tones, and let the drama come from depth rather than variety.
Seasonal Color Shifts
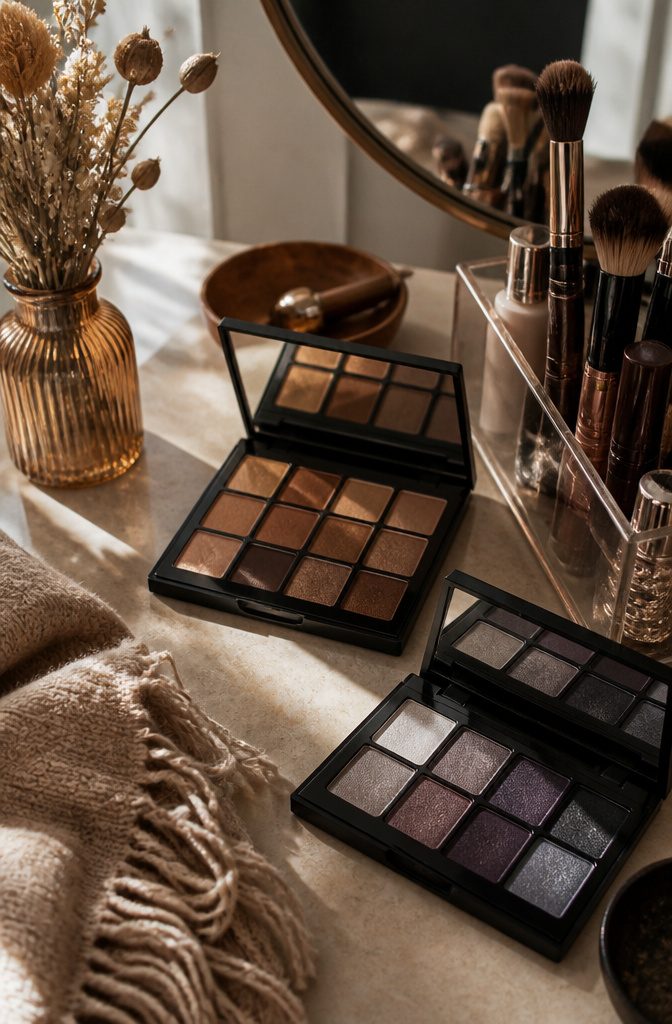
Summer tutorials lean hard into warmth, but cooler taupes and grays read cleaner in January light when skin is paler and the sun sets by five.
I flip that in July, reaching for warmer browns and bronzes that do not fight the undertone a real tan leaves behind.
The seasonal shift is not a rule I follow for its own sake; it is what actually works when I stand at the mirror.
Plum or forest green enters when I want the look to signal effort without adding steps.
A deep green smoked into the lash line reads intentional in a way that brown sometimes does not, and plum does the same work against olive or deeper skin tones.
Neither shade demands extra technique, just a different pan in the same palette. The mistake is treating color as the main event and letting it override the blend, which is still what makes or breaks the shape.
Frequently Asked Questions
What is a smokey eye?
A smokey eye is a blended or diffused eyeshadow effect built from layers of different shades and finishes to add depth around the eye.
The look starts with dark pigment at the lash line and fades outward, with no hard edges between colors. It is defined by the gradient rather than any single color.
How do you blend a smokey eye?
Work with multiple brushes and soften every edge the moment a new shade goes down.
Return to the same spot two or three times, using a clean fluffy brush to diffuse and a smudge brush for tight spaces along the lash line.
Stop while the shades still read as separate; over-blending collapses them into one muddy wash.
What colors do you need for a smokey eye?
You need three shades within the same color family: one light, one medium, and one dark. A classic brown or gray look might use a skin-tone base, a mid crease shade, and a deep charcoal at the lash line.
For color, think navy, steel blue, and a gray-toned highlight. Mixing color families causes the shades to compete instead of layer.