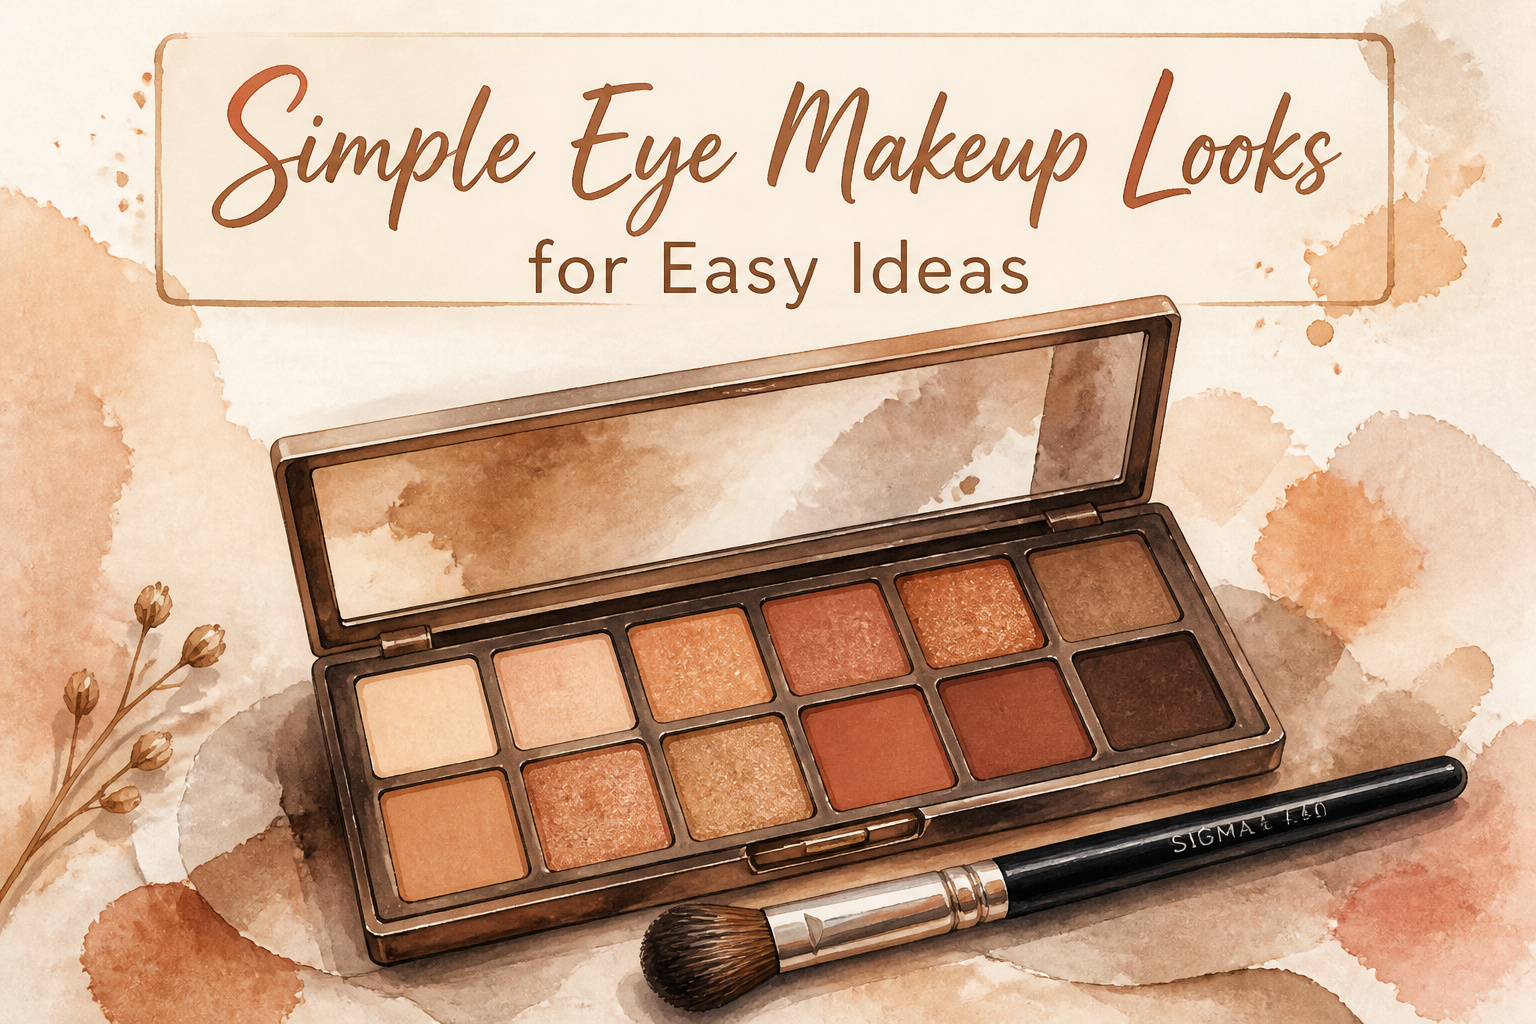
The difference between a five-minute eye and a failed attempt is usually stopping at one product instead of reaching for a second.
A single wash of soft brown eyeshadow, blended with a fluffy brush like the Sigma E40, reads as polished rather than bare. That restraint, not the specific shadow, is what keeps the look in "simple" territory.
1. Model Off Duty Look
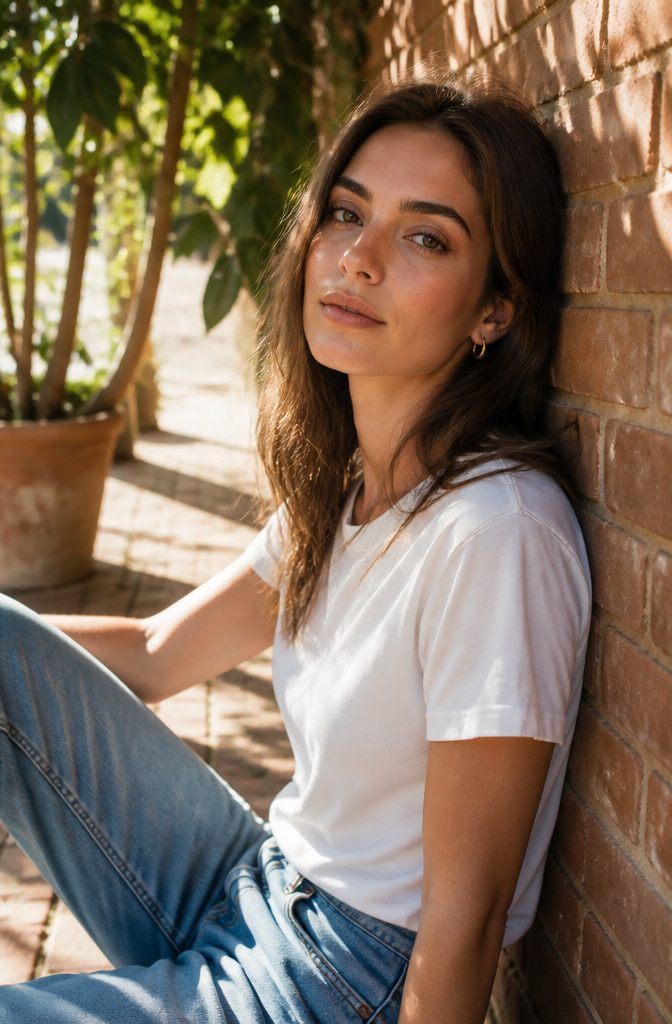
The model-off-duty look works because it borrows what your face already does. A dot of concealer pressed into the inner corner of each eye catches light there the way a rested morning would.
Then a fluffy brush, something like the Sigma E40, picks up bronzer and buffs it through the crease in windshield-wiper strokes. The color should sit where a real shadow would fall, not where a palette tells you to put it.
Keep the bronzer around the crease area, not the lid itself. Fenty Beauty Sun Stalk’r handles this well because it builds slowly; you can stop at a whisper or layer to a stronger contour.
On hooded eyes, raise the placement slightly so the color reads when you look straight ahead. The finished effect reads as perfectly blended neutral shadow, except you never opened an eyeshadow compact.
A smudged line along the lower lash line, or a sharp kitten flick at the outer corner, finishes it. The whole thing takes under two minutes and uses products already in your rotation.

AFFORDABLE PROFESSIONAL QUALITY: Achieve flawless, blendable matte looks with five silky shades that deliver rich, buildable color—perfect for trendsetters who want top-tier style without breaking the bank.

CREAM-TO-POWDER FINISH THAT SETS BEAUTIFULLY: Glides on as a silky cream for smooth, even color finish, then dries to a weightless matte powder that resists creasing all day for a clean, precise, and perfectly airbrushed eyelid look.
2. Contoured Lid
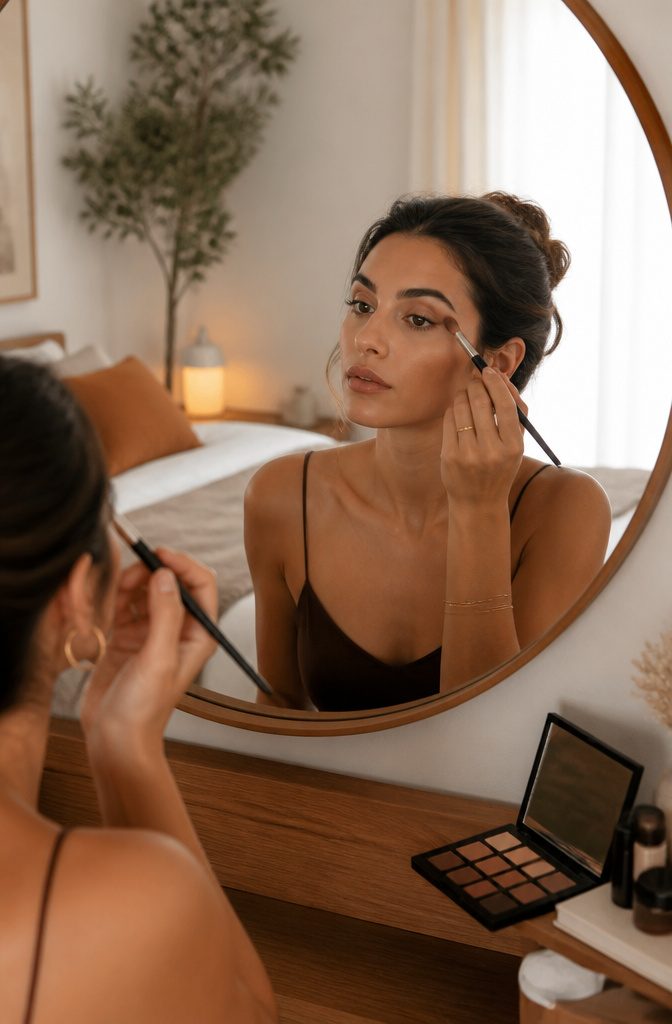
The contoured lid works because brown shadow reads as shadow, not makeup.
Bridal artist Mansi Somani uses this as her go-to easy eye: one matte brown, brushed into the actual hollow of your socket so the shape comes from your bone, not from drawn lines.
The hollow of the socket is your guide, not some arbitrary crease you create.
Start with a thin layer of concealer across the lid to even tone and keep the brown from muddying; R.E.M. Beauty Sweetener Concealer gets mentioned often for this since it cleans edges without drying.
Build the brown gradually, concentrating color where the lid dips naturally, then soften the edge with a clean brush so there is no stripe.
A brown pencil at the lash line, top and bottom, keeps it grounded, and two coats of mascara finish it.
The MAC Eyeshadow X 9 in Amber Times Nine or NYX Ultimate Color Palette Warm Neutral both give you several browns to test against your skin depth, though honestly one reliable pan is enough.

Eyeshadow Palette: This professional level makeup palette features 16 vegan, pigmented shadows that glide onto lids and make eyes pop with color; Use with NYX Professional Makeup eyeshadow primer for bolder, longer lasting color

Cool-Tone Nude Matte Shades for Effortless Smokey Eyes - This mini eyeshadow palette includes 6 cool-tone nude and grey matte shades designed to create natural daytime looks or a classic cool smokey eye. Neutral colors flatter most skin tones and eye colors, making it a versatile essential for everyday makeup and special occasions.

Our first 12 shade collection curated to create infinite looks with bold beiges, sultry sands, brazen bronzes, and over the top taupes
3. Subtle Smokey Eye
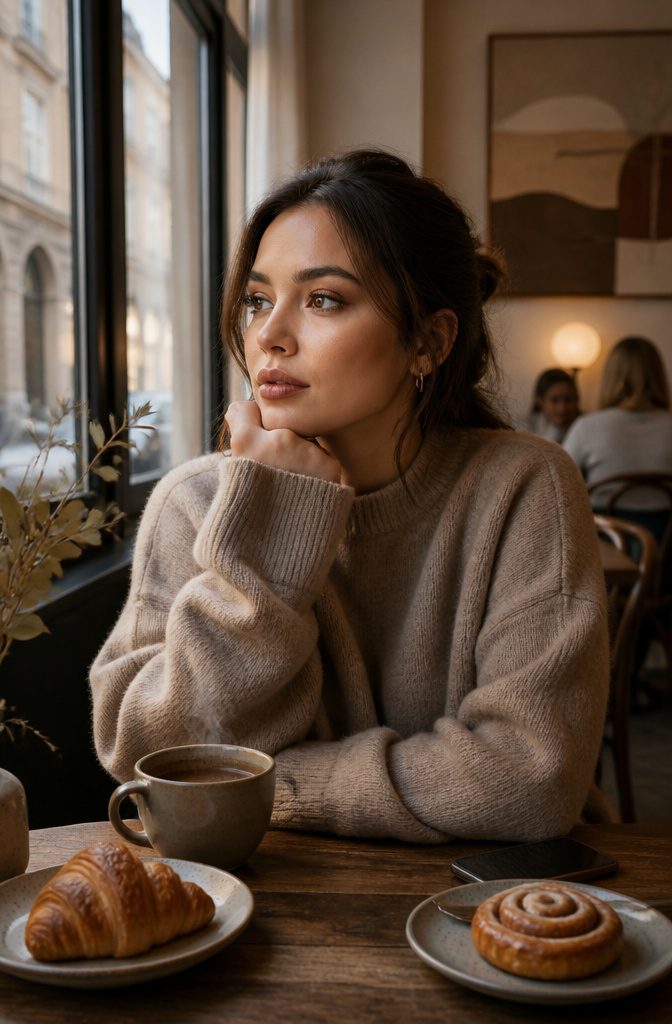
A single wash of soft brown eyeshadow is where the subtle smokey eye lives or dies. Layer it and you have costume; stop at one pass with a fluffy brush and you get depth without drama.
The color matters more than the formula. Brown reads softer against skin than black or navy ever could, so the same wash that would look like a bruise in charcoal reads as contour in taupe or warm amber.
I have watched this fail when someone reaches for the darkest shade in the pan out of habit; the point is restraint, not intensity.
What you use to apply it shapes the result as much as the shadow itself. A fluffy brush diffuses the edge while it deposits color, so the gradation happens without separate blending steps.
Cream shadows blend out with a fingertip, pressed powder needs that brush. Sticks glide on tug-free if you prefer them.
"There is something so striking about a single color wash all over the lid," celebrity makeup artist Jo Baker said. "It’s timeless, elegant, and ageless, and it requires minimal skills to execute, making it a perfect look year-round."
— Vogue
This means one product, one tool, and stopping before it looks like effort. The bottom lash line gets the same brown if you want definition, or skip it.
Mascara is optional. The look holds because you did less, not more.

1.5MM micro tip. Easy tightlining. Effortless glide. All-day wear, waterproof and transfer proof. Intense pigments.

LASTING EYELINER: Rich color looks freshly applied all day long; transfer-proof, waterproof, smudge-proof and fade-proof

SILKY SMOOTH KOHL EYELINER PENCIL: Ideal for creating crisp lines or sultry, smoky eye looks—available in smoldering shades!
4. Smoked Out Wings
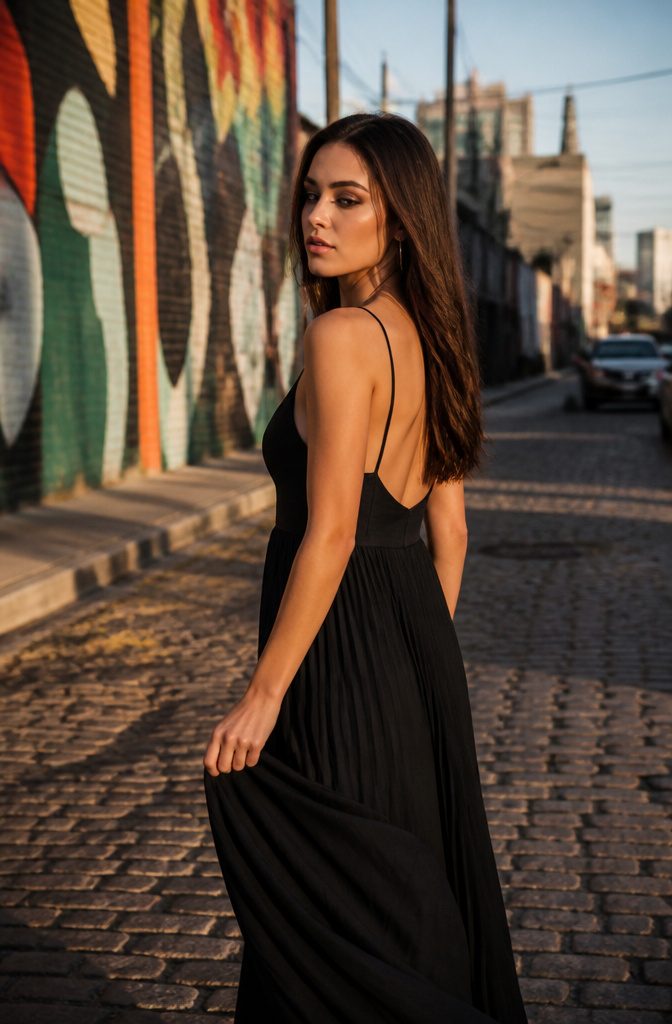
The smoked out wing works best when you stop treating it like liner at all.
Pick one shadow family, black or brown or grey, and run it from the lash line up to the brow bone in a wash that gets lighter as it climbs.
The shape lives at the outer corner, where you diffuse the color outward into a soft flick that reads as contour rather than a drawn line.
A good eye brush set matters more here than the shadow itself. The edges need to stay blurred; any sharpness ruins the effect and turns the look into something else entirely.
I build the pigment in thin layers, each one buffed out before the next goes on, so the gradient stays gradual and the wing stays shape, not stroke.
The color should disappear into skin at the edges, not stop. That diffused boundary is what keeps the eye looking sultry rather than overdone, especially in fall and winter when heavier makeup can quickly feel like too much.
Pinks work too if you want something softer, though the same rule applies: one family, blended to nothing, wing implied rather than drawn.

GET THE ROYAL LOOK: Whether you choose classic black waterproof, warm brown, or striking white, the essence Lash Princess Liquid Liners let you achieve a flawless, royal look with ease. The ultra-fine brush applicator glides smoothly, delivering an elegant, precise line every time.
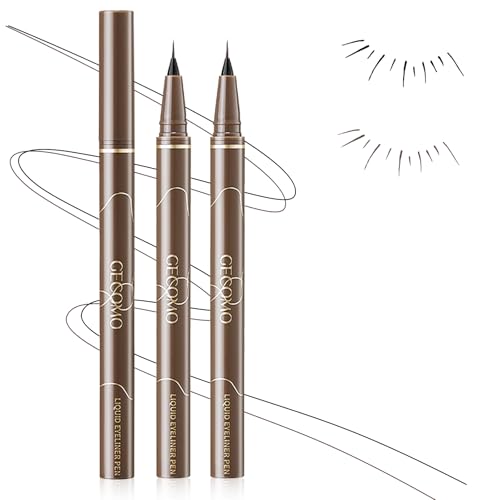
Lower Eyelash Eyeliner: The set contains a black and a brown lower lashes eyeliner. Our eyelash pen uses a new precision technology, very fine tip can be accurately controlled. You can easily create a clean and precise line that ensures your eyelashes look beautiful and natural

Retractable Eye Liner: A line and defined eye is just a twist away with this eyeliner pen; Intense pigment covers like a liquid eyeliner while its creamy formula holds for hours; No need to sharpen just twist up and apply for a winged out eyeliner look
5. Soft Cut Crease
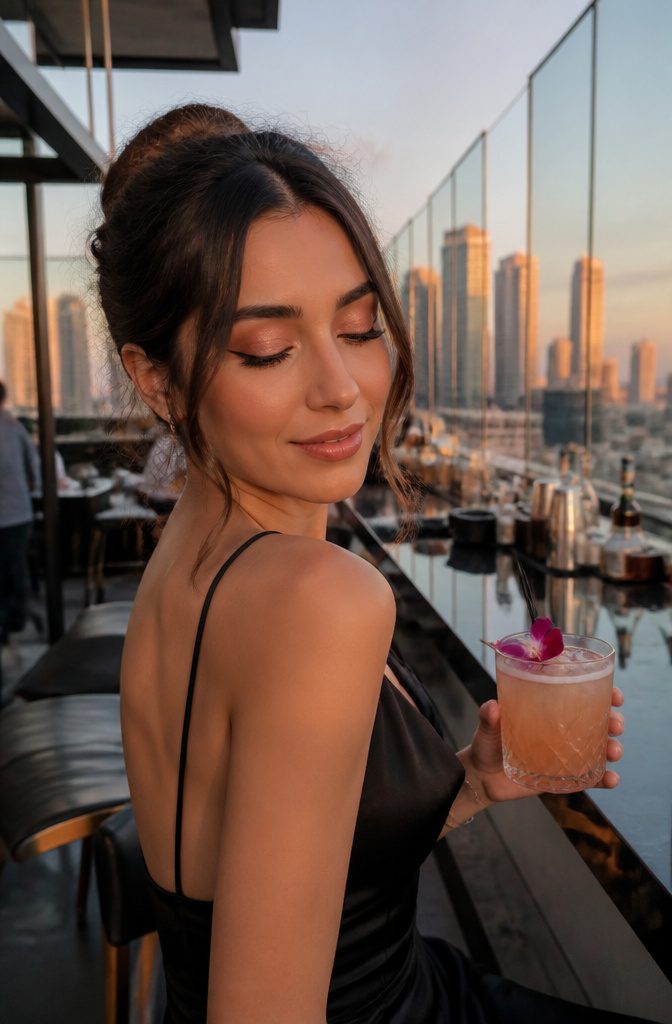
A soft cut crease lives or dies on the contrast between textures, not on drawing a perfect line.
Pink and peach shadows do the heavy lifting here: the matte shade carved slightly above your natural crease creates the definition, while a shimmer pressed onto the lid catches light and opens the eye.
That difference between flat and reflective is what reads as fresh and awake from across a room, not whether the crease edge is drawn with surgical precision.
The 90s revival of this shape still holds up because it elongates without reading as full glam.
I keep the crease color diffused and stop before it reaches the inner corner; packing shimmer on the center lid and inner corner does more for a doe-eyed effect than any amount of tightlining.
A half wing at the outer corner, kept low and soft, extends the shape without adding drama you did not plan on.
Keep the matte crease shade two tones deeper than your lid shimmer and blend until no harsh edge remains. Precision is for Instagram; lived-in softness is what works at 7 AM or after a full day.

Intense Color Payoff – Unlock rich, mesmerizing color in one swipe. Our advanced pigment technology delivers ultra-smooth, buildable coverage that lasts from sunrise coffee to midnight cocktails without creasing or fading.

BOLD MATTE BEAUTY ON A BUDGET: Score five rich, blendable shades that deliver vibrant, buildable coverage—perfect for creating endless looks without emptying your wallet.
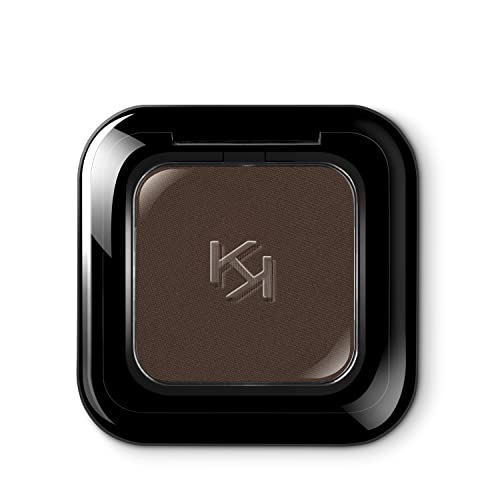
Highly pigmented eyeshadow with instant, intense and buildable colour release
6. Effortless Smudged Liner
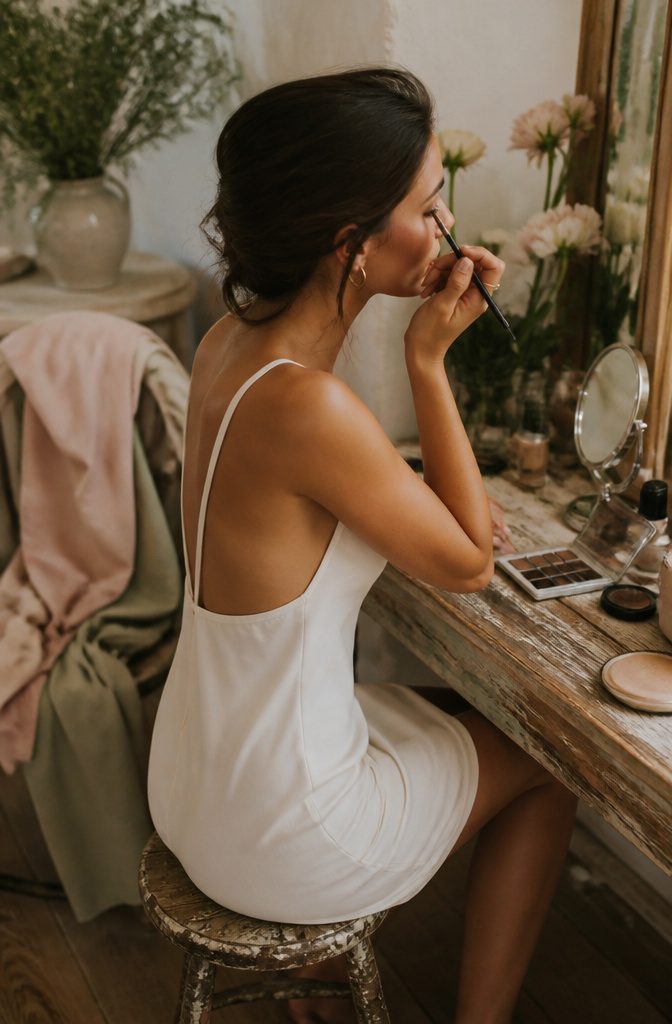
A soft pencil liner, deliberately smudged, forgives shaky hands in a way liquid never will. The trick is working while the line is still creamy, before it sets into something precise.
I smudge the upper lash line with a small brush or even a cotton bud, then repeat the same on the lower lash line if I want extra definition.
The result reads as sultry and lived-in rather than failed attempt at a cat eye.
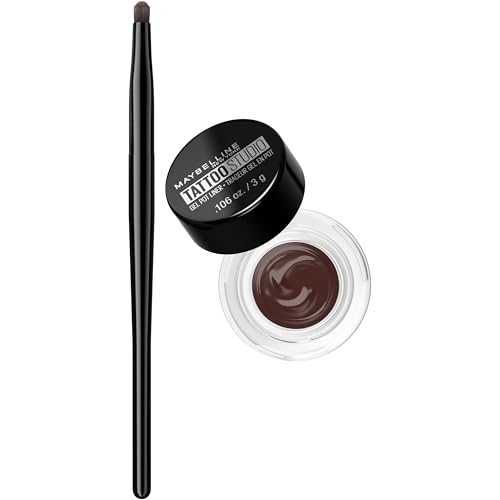
The Maybelline Tattoo Studio Automatic Gel Pencil at $11 stays creamy long enough to smudge without sliding off by noon, which makes it the drugstore option I reach for most often.
For a luxury version that doubles as shadow, the Chanel Stylo Ombre Et Contour at $40 carries the same softness with a finish that looks intentional even when the application was rushed.

Creamy Blendable Formula: Features a velvety matte & shimmer finish that glides on smoothly for effortless blending. Experience long lasting color with Wugbc highly pigmented eyeshadow stick without smudging or fading. Ideal for creating natural eye makeup looks with ease

【Multi-Dimensional Matte Eyeshadow Palette】- This 5-color eye shadow palette makeup uses cool-toned, nude colors, taupe, brown and neutral colors to create a perfect and flawless eye shadow makeup. 4 shades are provided, namely 01#, 02#, 04# and 06#, to ensure a seamless sense of hierarchy from natural daytime makeup to sexy smokey eyeshadow makeup

Long-Lasting Cream Eyeshadow Stick : Experience the luxury of FV eye shadow sticks velvety texture as it effortlessly sweeps across your lids.Cream eyeshadow high-quality, transfer-resistant formula ensures that your eye makeup stays pristine without any unwanted smudging. Ideal as a standalone shade or an eye primer, applies silky smooth even on dry eyelids.
7. Natural Everyday Look
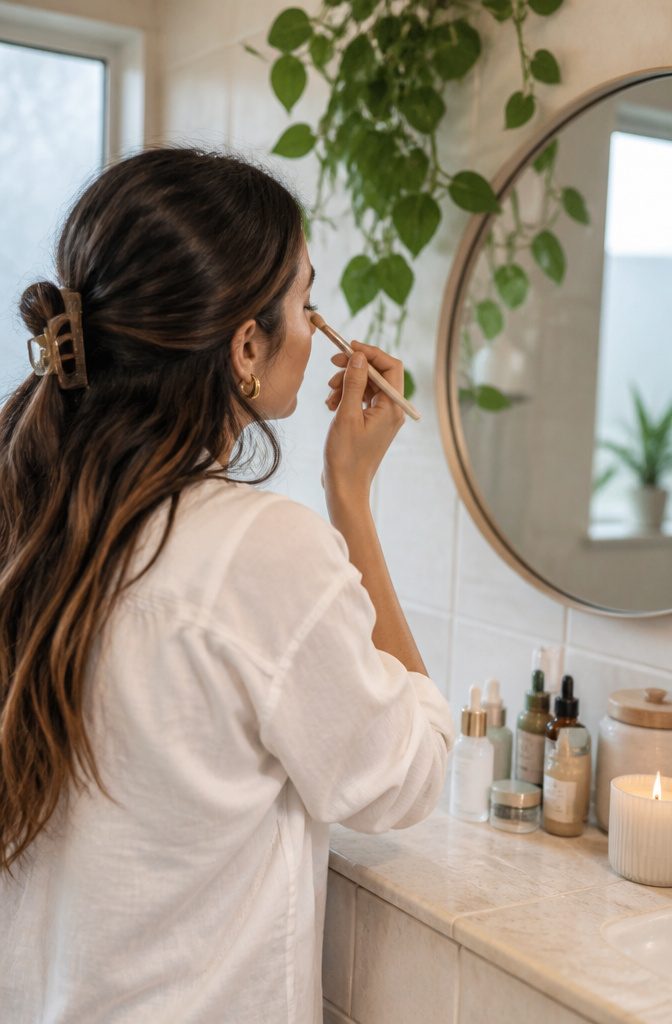
A single neutral shade swept across the entire lid is the 5-minute fix most beginners actually finish.
No crease work, no transition color, no second-guessing placement. The flat shader brush pats the color from lash line to crease, a fluffy brush softens the edges, and one coat of mascara closes it out.
Warmth changes the whole effect.
A matte bronzer a few shades deeper than skin tone contours the eye instead of just coloring it, and It Cosmetics Bye Bye Pores Bronzer works here when you want that warmth rather than a cool taupe.
Buff it with a tapered blending brush in small circles or windshield-wiper motions, keeping the color around the crease and slightly higher for hooded lids.
A pencil brush can run the same shade along the lower lash line, though that step is optional.
Peachy, pink, or true brown shadows also serve the same one-product purpose.
The real decision is whether you need the eye to recede slightly, which warmth does, or simply to read as polished, which any deeper neutral manages on its own.

This eyeshadow kit is a collection of great shades handpicked by our makeup pros and designed to make your eye look go from day to night.

【Professional Neutral Tones】This 10-color Eyeshadow Palette features a range of warm and cool tones, from soft mattes to shimmery glitters. Create versatile looks with ease, perfect for both makeup beginners and professionals.

【9-Color Neutral Matte Eyeshadow Palette】 Create soft everyday eye makeup or build deeper smokey eyes with this 9-color neutral eyeshadow palette. The nude eyeshadow palette features warm neutral eyeshadow shades, soft taupes, rich browns, and natural beige tones for a natural eyeshadow look on different skin tones.
8. Quick Shimmer Pop
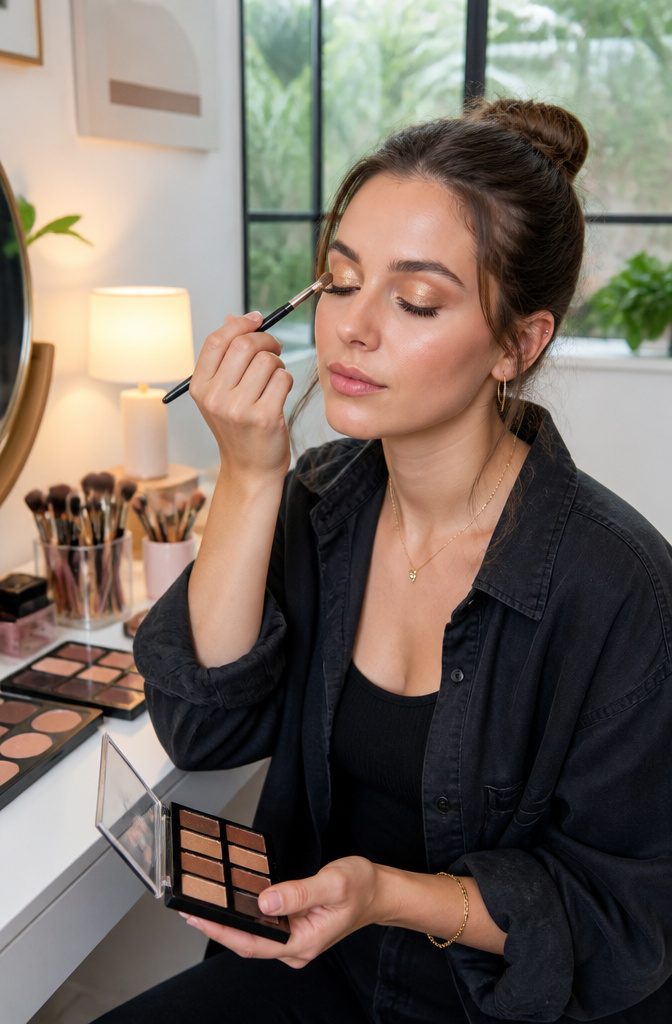
A finger presses shimmer into the center of the lid better than any brush ever could.
The warmth melts the product slightly so it grips bare skin or a matte base underneath, and the pressure keeps the sparkle where you want it instead of dusting across your cheekbone.
Pat champagne or gold onto the center only, leaving the inner and outer corners alone.
That placement catches light when you blink and gives the eye dimension without asking for blended edges. Skip the brush entirely for this step; even a flat brush drags too much away.
Two shades maximum keeps the whole thing under three minutes.
A single neutral crease tone from earlier in your routine, then the shimmer pop on top, mascara, done. The finger application is what makes this genuinely fast, not just theoretically simple.

LASTING EYELINER: Rich color looks freshly applied all day long; transfer-proof, waterproof, smudge-proof and fade-proof

Wonderskin 1440 Waterproof Eyeliner gives 24-hour stay-put wear and rich, high-intensity color. This smudge-proof, long-lasting eyeliner keeps your eye makeup flawless all day. Designed for use as eyeliner or eyeshadow, with an extensive range of colors.

SMUDGE-PROOF COLOR: Waterproof, smudge-proof + transfer-proof
9. Half-Wing Beginner Liner
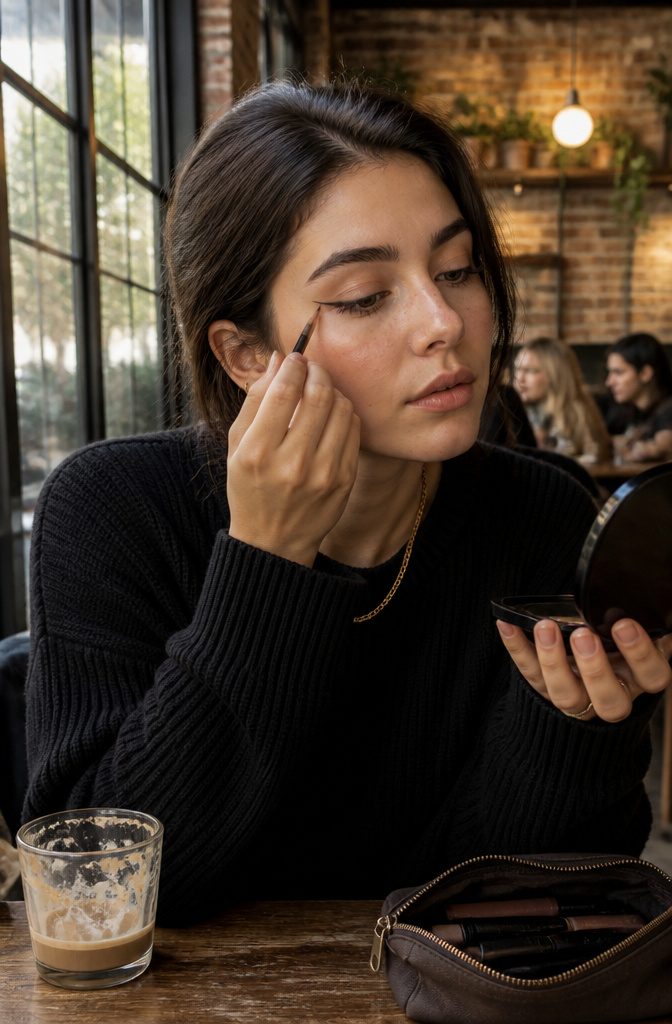
A half-wing that starts at the outer third of the eye gives the lifted look without the full cat-eye drama.
The line follows your lower lash line’s natural angle, extended just past the corner, which keeps things subtle on hooded lids where a full wing might smudge or disappear.
The Make Up For Ever Artist Color Eye, Lip & Brow Pencil at $24 works well here because one pencil handles the liner and any brow filling.
That cuts the product count down, and less product means less time. Pro makeup artist Anastasia Vavina has noted that fewer products is the real trick to a faster eye look.
A liquid pen like Half Magic Magic Flik or Pat McGrath Perma Precision Liner offers more control if you prefer, though the pencil builds softer.
Either way, keep the flick short: the point is definition that reads as awake, not costume.

High-def pigment and a rich, fluid formula that goes on quick and easy to give you perfectly lined eyes that last
Intense color from highly concentrated pigments

Smudge Resistant Pencil Eyeliner: With a self-sharpening tip and a smudge-resistant, waterproof formula, this mechanical eye pencil delivers control and definition from natural lines to your boldest looks
10. No-Makeup Makeup Eye

Brown mascara changes the whole effect of a no-makeup makeup eye. Black reads as makeup from across a room; brown thickens the lash line without announcing itself.
I learned this the hard way after years of wondering why my "natural" days still looked like I had tried. The sources back this up: one coat, curled lashes, and the job is basically done.
Concealer on the lid evens discoloration so the skin looks like skin, not like a base for shadow. A nude or skin-tone shadow does the same work with a drier finish if your lids tend to go oily by noon.
Tightlining the upper waterline with a brown pencil fills the gap between lash and eye so the lashes look denser, but the line itself stays invisible. No liner should show; that is the rule.
Brow gel, clear or brown, keeps the frame tidy without drawing attention. The whole look rests on restraint: each product should do one small job, and the total should read as "got enough sleep," not "applied makeup."
Two brushes, two products, and five minutes is the honest scope of it. Anything more and you have slipped into a different category entirely.

Vibrant Color Range: MEICOLY offer a diverse range of shades for eyeshadow,including off white(beige) eyeshadow,white eyeshadow,black eyeshadow,light blue eyeshadow,green eyeshadow,coffee eyeshadow,red eyeshadow,macaron grey eyeshadow,catering to various preferences and allowing you to find your perfect match.All MEICOLY matte eye shadow come with mirror and brush.Gently remove the sealing film from the mirror before using the eyeshadow.

【Rich Pigment & Versatile Shades】Featuring an array of multi vivid shades including black, white, brown, purple, green, and beige, this pressed powder eyeshadow palette is designed for crafting stunning eye makeup looks that range from subtle to bold. Each shade is highly pigmented for impactful color that draws attention

【ALL-MATTE EYESHADOW FOR MATURE WOMEN】Erinde 10-color eyeshadow palette series 04# Cement, "ALL MATTE" eyeshadow palette with a range of warm and cool tones, from soft matte light gray to rich dark brown, suitable for older women who like natural eye makeup and young people who need dignified eye makeup.
Prep the Eyes
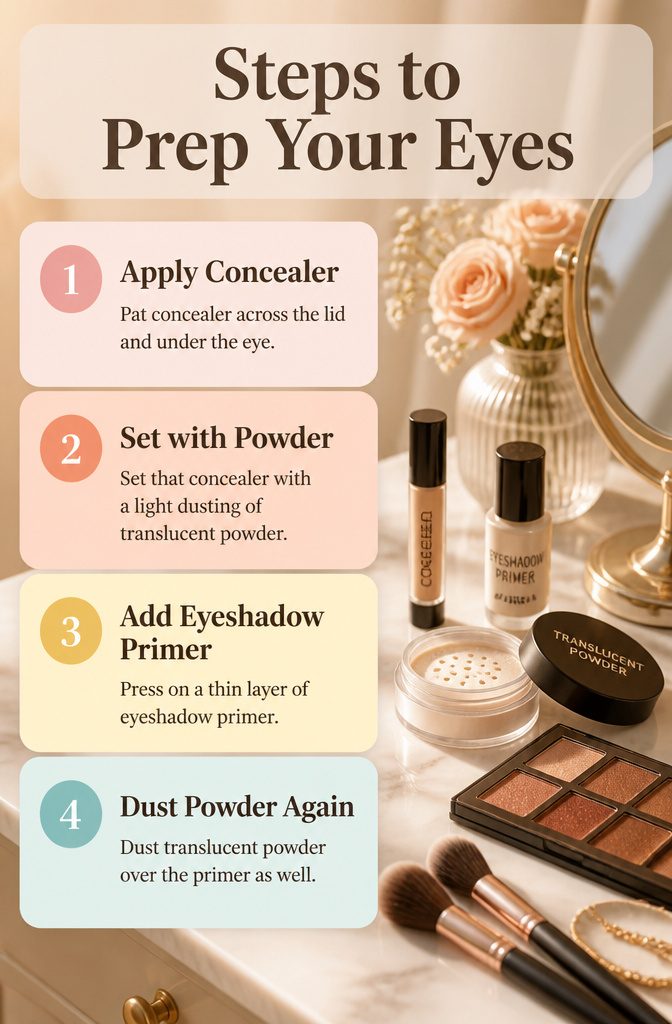
- Pat concealer across the lid and under the eye before anything else; discoloration there throws off how shadow reads once it goes on. A thin layer from lash line to brow bone is enough, and the point is a smooth, even skin tone rather than full coverage.
- Set that concealer with a light dusting of translucent powder if you want the color to stay where you put it. This is the step that stretches wear to all-day; skip it and the primer underneath has to fight oil and movement alone.
- Press on a thin layer of eyeshadow primer from lash line to brow bone. The primer creates the actual grip that keeps shadow from creasing or fading, and without that base the pigment never reads as true as it looks in the pan.
- Dust translucent powder over the primer as well for extra insurance on long days. No primer in your bag? Concealer set with that same powder works in a pinch, though the finish and hold will not match what a dedicated primer gives you.
Apply Eyeshadow
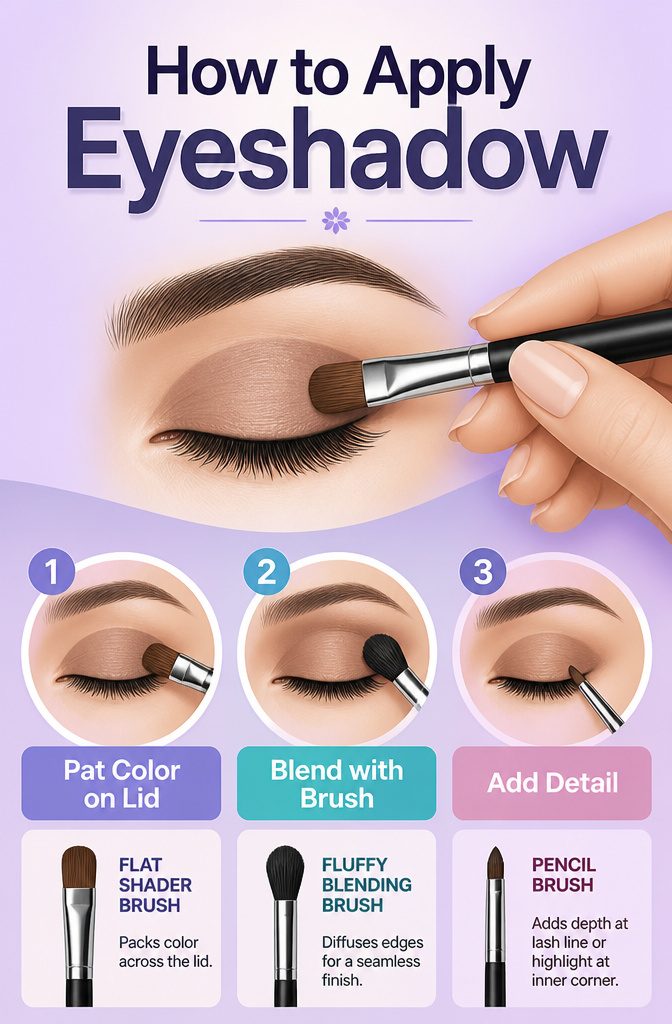
A single neutral shade, something like a soft brown or taupe slightly deeper than your skin tone, is usually enough for a simple makeup eye look.
Pat it across the entire lid from lash line to crease with a flat shader brush, which is built for packing color on rather than sweeping it.
The fluffy blending brush comes next, diffusing any hard edges so the finish stays seamless rather than striped.
Two shades work if you want a little dimension: lay the deeper tone across the lid and use the lighter one to soften the crease edge.
A pencil brush handles the detail work, whether that is smudging shadow tight to the lower lash line or placing a pinpoint of highlighter at the inner corner.
I have watched enough tutorials where someone skips the right tool and ends up with pigment where they did not want it; the brush type matters more than the price of the shadow.
Define and Finish
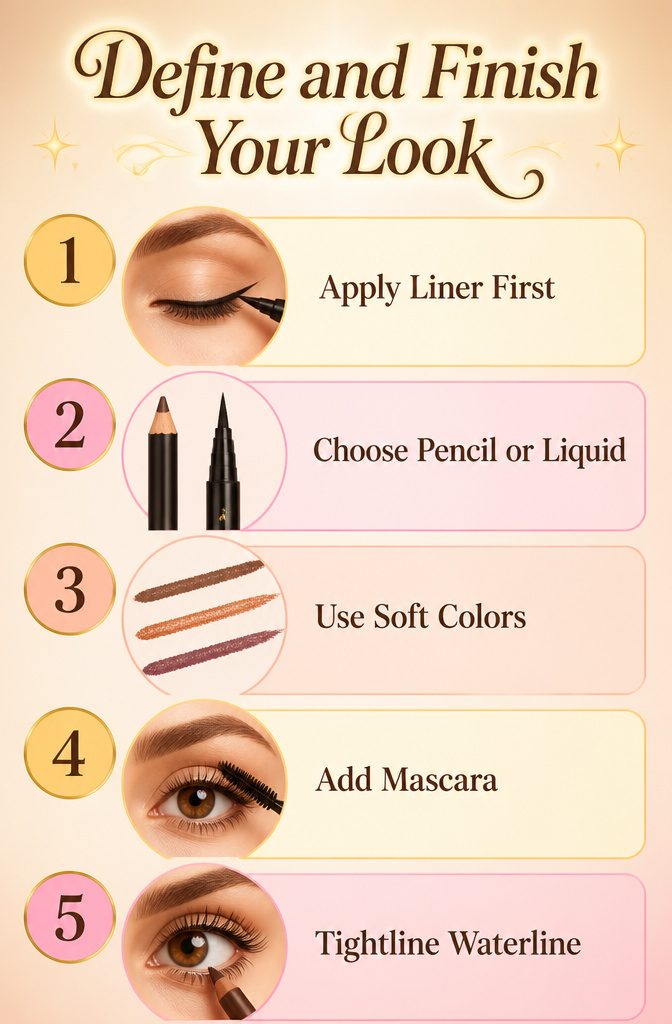
- Liner goes before mascara, never after. Wet lashes catch the tip of a pencil or liquid pen and smudge the line you just laid down. I learned that sequence the hard way after ruining a tightline more than once.
- Pencil or liquid both work; the difference is the finish you want. A creamy pencil, like Charlotte Tilbury’s Pillow Talk or a kohl formula, buffs out with a finger for soft definition along the upper and lower lash lines. A liquid pen, such as Stila’s All Day Waterproof, stays razor-sharp for a precise wing that does not move once it sets.
- Color keeps the look in the "simple" territory. Brown, copper, or browny-plum reads softer than jet black and prevents the liner from overtaking the lid. Work in small sections, keeping the line tight against the lash line rather than building a thick stripe.
- Mascara is the step that opens the eye, even on minimal days. One coat of brown mascara, applied after the liner has fully set, adds definition without the heaviness of black. Curl the lashes first if your natural shape needs the lift.
- For the barest version, tightline the upper waterline with a brown pencil. This thickens the lash line from underneath without visible liner above, and the mascara on top finishes it.
Frequently Asked Questions
How do you do simple eye makeup in under 5 minutes?
Use one or two shades maximum and skip complicated blending. A flat shader brush pats a single neutral shade from lash line to crease, a fluffy brush softens the edges, and one coat of mascara closes it out.
For shimmer, press it on with a finger rather than a brush; the warmth melts the product so it grips and stays where you put it.
What’s the easiest eye makeup look for complete beginners?
The natural everyday look using just one eyeshadow shade.
Pat a soft brown or taupe slightly deeper than your skin tone across the entire lid, soften the edges with a fluffy brush, and add mascara. No crease work, no transition color, and no second-guessing where anything goes.
How do you make eye makeup last all day?
Start with concealer across the lid, set it with translucent powder, then press on a dedicated eyeshadow primer from lash line to brow bone.
A final dusting of translucent powder over the primer adds extra insurance for long days; skip any of these steps and the pigment never reads as true as it looks in the pan.