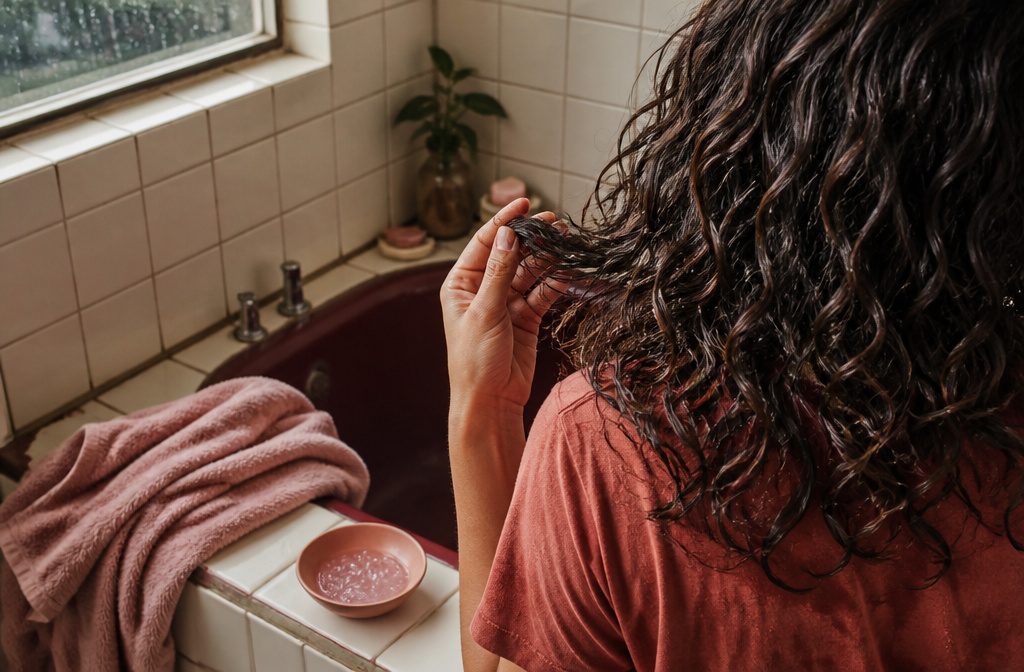
Defined, springy curls from waves take one wash, a nickel-sized first dab of gel and a plop of at least 30 minutes.
The stage people get wrong is drying: a cotton bath towel snaps hair and scatters your curl pattern. Your natural pattern can’t be permanently changed, only enhanced, so expect better-defined waves, not a new texture.
1. Cleanse and Condition
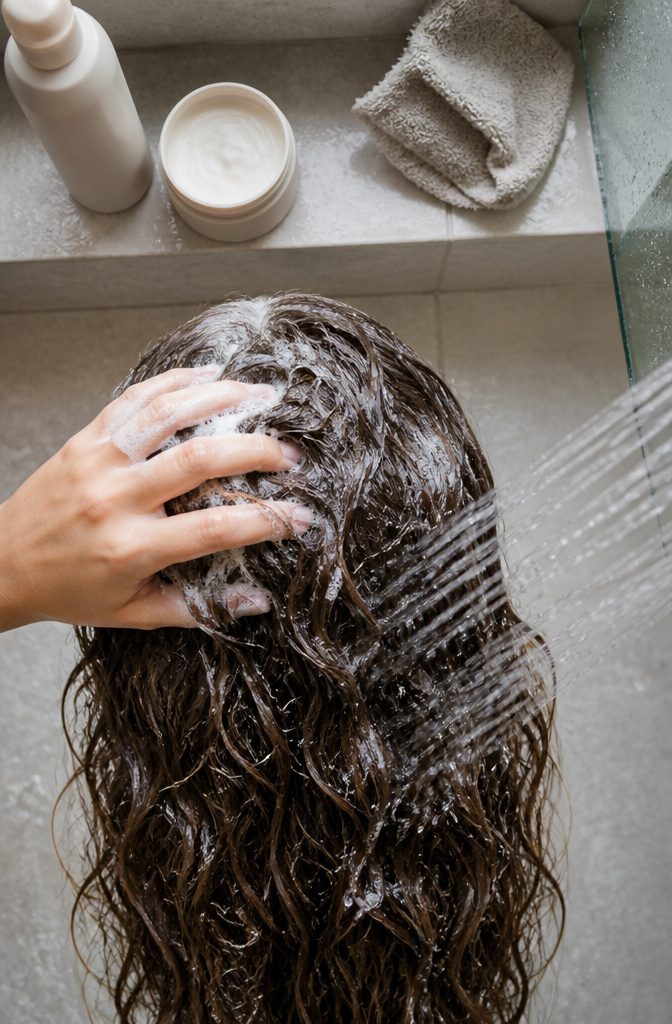
Wavy hair runs dry, so start with a shampoo and conditioner made for curls or waves, and wash and condition at least once a week.
Pick one shampoo per wash: Ouidad Water Works if you have buildup or hard water, since it clears minerals without stripping, or a regular shampoo that lathers well and rinses clean.
Scrub the scalp thoroughly and let the suds run down your lengths.
Next comes a deep conditioner or a regular one, never both in the same wash. I’d make your weekly wash the deep-conditioning one.
Rinse until hair feels soft but not slippery, because leftover conditioner lowers hold and curls fall flat. Use warm water, not hot, and finish with a cold rinse to seal the cuticle and add shine.
2. Detangle and Blot Dry
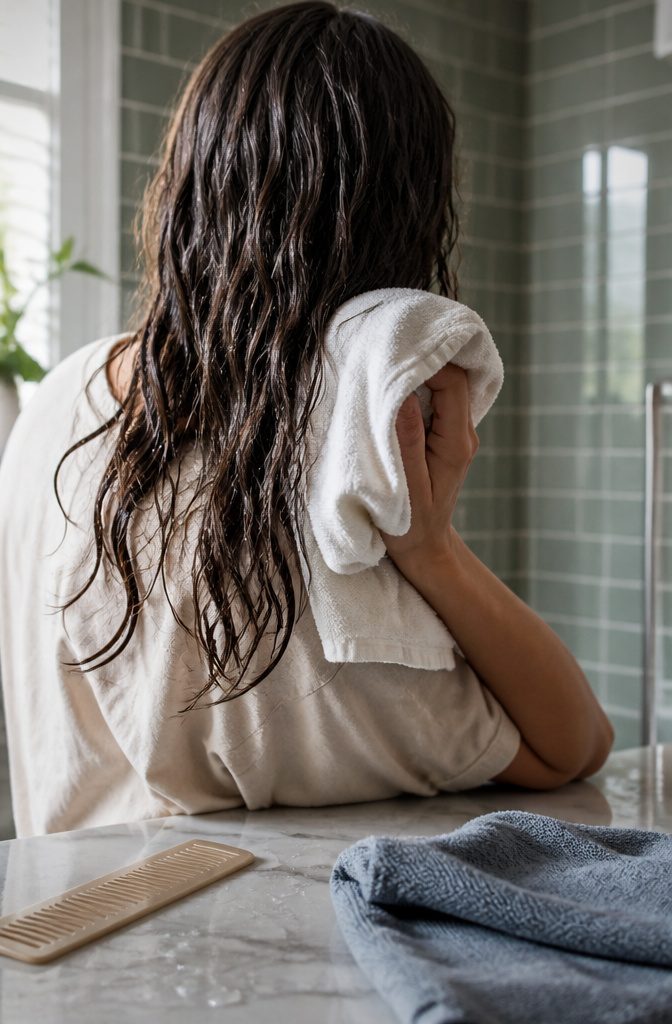
Brushes pull on wavy hair and flatten the curl structure, so I keep them out of this step.
On wet hair, use your fingers or a wide-tooth comb, starting at the ends and working up toward the roots. Rushing here is what causes breakage and frizz.
Rubbing with a standard cotton bath towel is too rough; the friction snaps hair and scatters your pattern. Blot or squeeze out the water with a microfiber towel or a soft, clean cotton T-shirt instead.
A Hair RePear towel is a good microfiber pick. Blotting also shortens drying time and helps set the curl shape.
Once your hair is dry, leave it alone. Brushing or fiddling with it breaks up the product and the pattern you just built.
3. Add Products While Damp
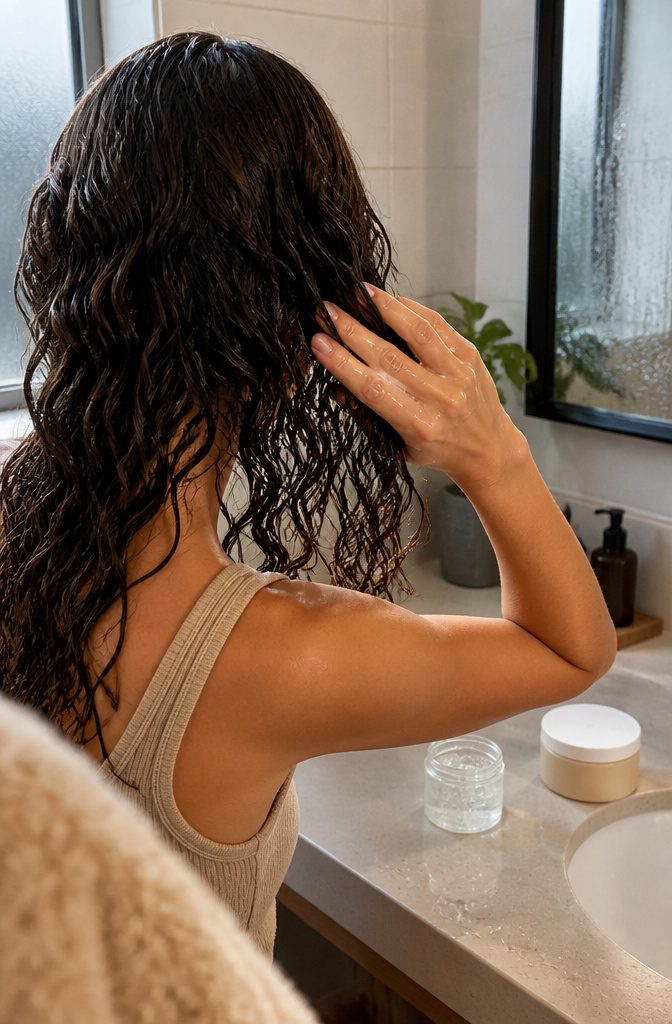
Product goes on while hair is still damp, because that is when it tames frizz and shapes the pattern.
Curl cream, leave-in conditioner, gel and styling spray all work, but moisture matters more than hold for waves. Dream Curls Advanced Hydrating Jelly is one example of a curl-definer that leans hydrating.
For the shortest routine, use gel alone. Start with a nickel-sized amount on one side, rake it through, then repeat on the other side.
Keep adding small amounts until every section feels coated; a large dose all at once is what to avoid. Lifting the hair off the scalp as you rake gets product to the roots, which helps root frizz.
Gel wins for speed. If your waves feel stiff under it, a cream or leave-in gives definition with a softer finish.
4. Shape Waves Into Curls
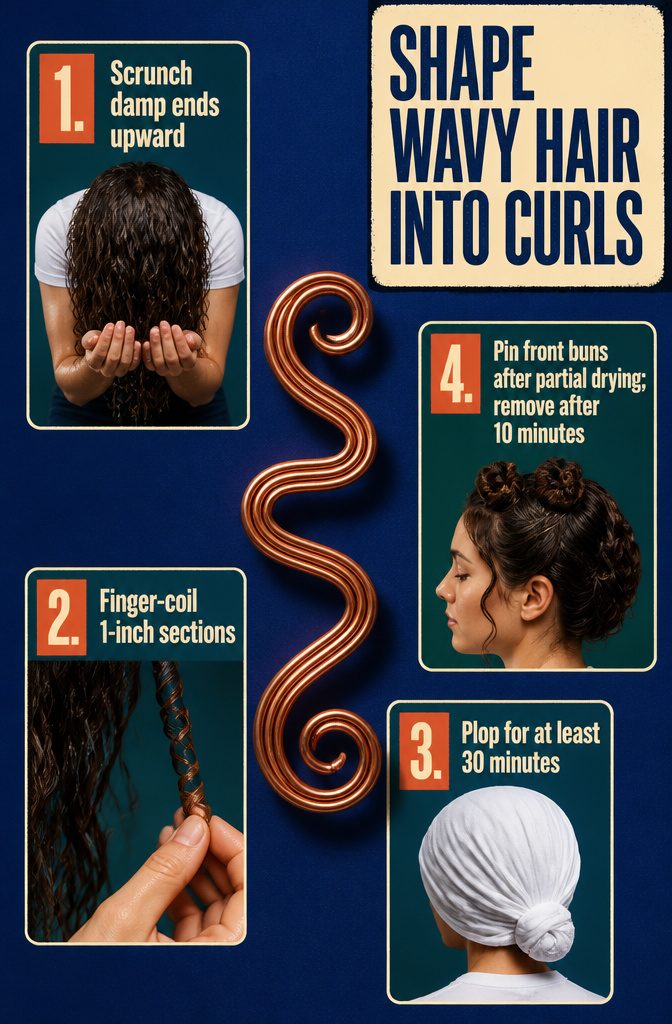
- Scrunch first. Press damp ends up toward the roots with cupped hands, like closing an accordion. A microfiber towel or T-shirt does the same job and cuts frizz.
- Twist or finger-coil the damp hair in 1-inch sections. Smaller sections give a piecey, defined look; bigger ones blur into one soft wave.
- Plop it. Lay a T-shirt or thin microfiber towel flat, lean over, pile your hair on top of your head, and wrap the fabric around it, securing it at the nape. Leave it at least 30 minutes. Without gravity pulling the hair down, the wave pattern holds while it sets.
- Pin the front last. Once hair is partially dry, twist the tufts around your face into small buns and secure each with a bobby pin. Pull the pins after about 10 minutes for soft curls, no wand needed.
5. Air-Dry or Diffuse
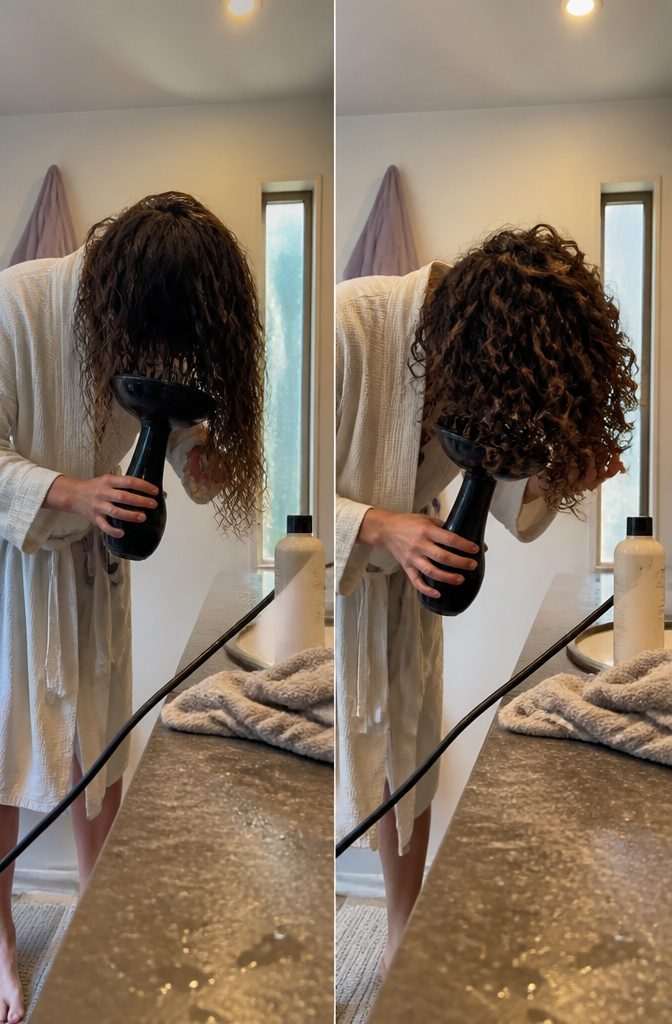
Air-drying is the gentler route and keeps a more natural curl pattern, but long waves tend to stretch as they dry, leaving a more elongated look. Diffusing adds volume and keeps curls defined, which is why I lean toward it.
Start the diffuser once hair is partially dry.
Turn your head forward, shape the waves, and squeeze at the roots. Some people find a diffuser makes them frizzy, and a stronger product like gel helps hold definition.
With either method, dry all the way for the longest-lasting curl.
If you style at night, get your hair mostly dry before bed. After you scrunch out the crunch, any damp patches left need only 30 seconds to a minute with the diffuser.
6. Finish and Refresh
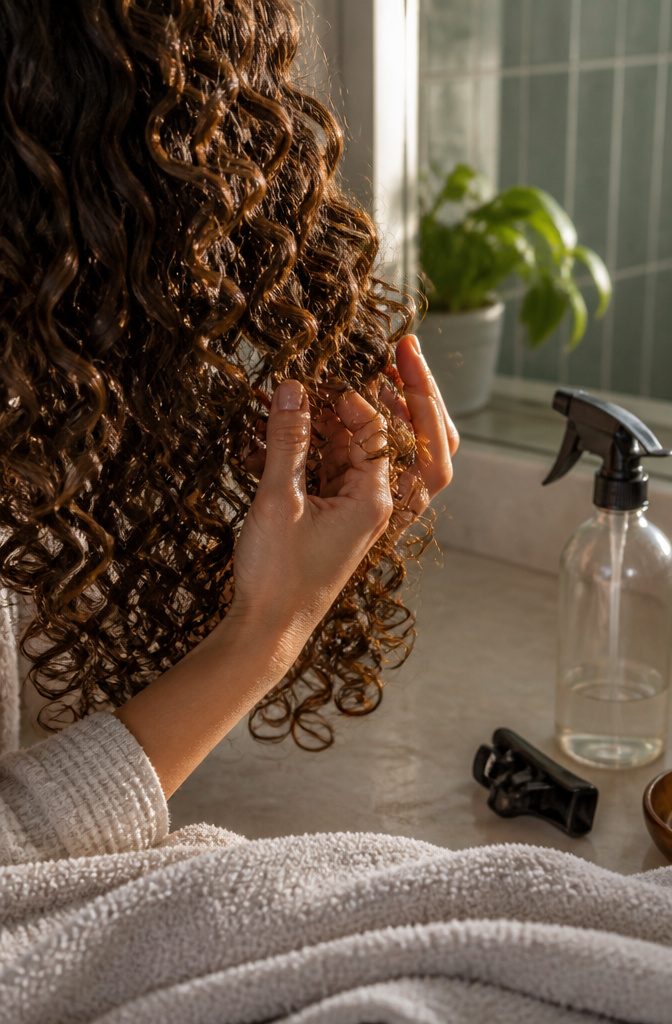
Once hair is fully dry, scrunch out the gel cast with dry hands until the crunch gives way to soft curls.
Fluff the roots and pull a few curls apart for fullness. Bare hands are my starting point, and a few drops of a light oil like jojoba on your palms only make sense if the ends still look dry.
A frizz-fighting hairspray holds the shape through the day. On day two, a mist of Dream Curls Daily Styling Spray or the Wave-Revitalising Spray refreshes curls without a wash.
Ends that are straighter than your roots usually mean damage, and a trim brings back bounce almost immediately. Choose a stylist experienced with wavy and curly hair, especially if you want bangs.
7. Go Easy on Heat
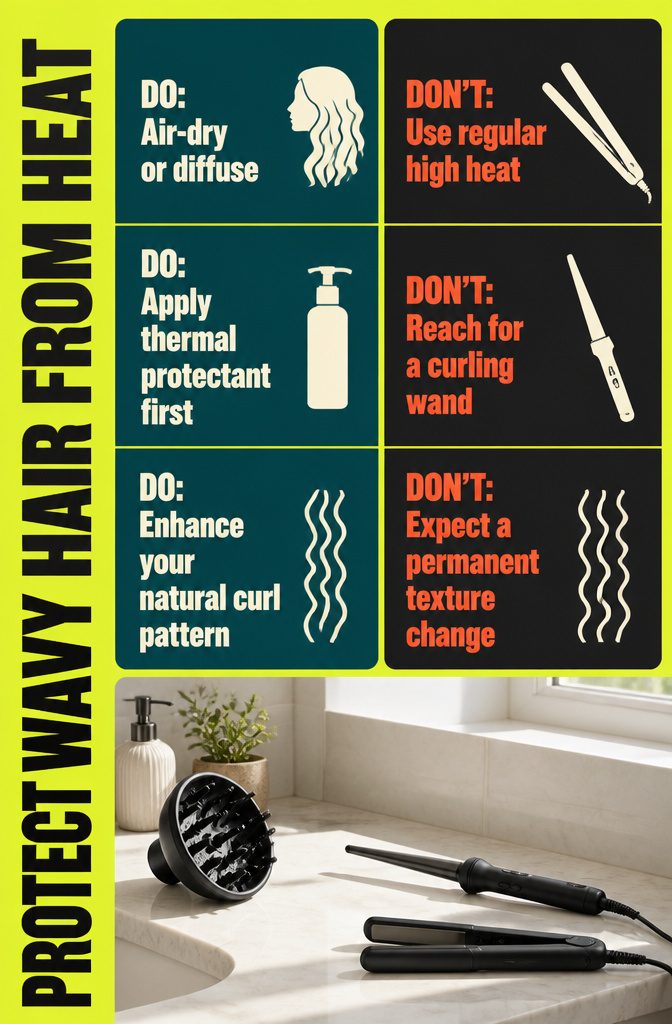
Heat is the habit most likely to flatten the curls you’re building.
- Regular heat styling damages hair and disrupts the curl pattern. Damaged hair goes limp and shapeless, so a curling wand works against you.
- Air drying or diffusing gives more natural-looking curls than a curling iron or straightener.
- If you do use a tool, apply a thermal protectant first. Curlsmith Miracle Shield is my pick for diffusing: work it through damp hair, ends first.
- The Curly Girl Method skips sulfates, silicones and heat. Adapted versions allow sulfates once a month or silicone sparingly, which is where I’d start if you flat-iron daily.
- Your natural curl pattern can’t be permanently changed, only enhanced. Aim for better-defined waves, not a new texture.
Match Products to Your Waves
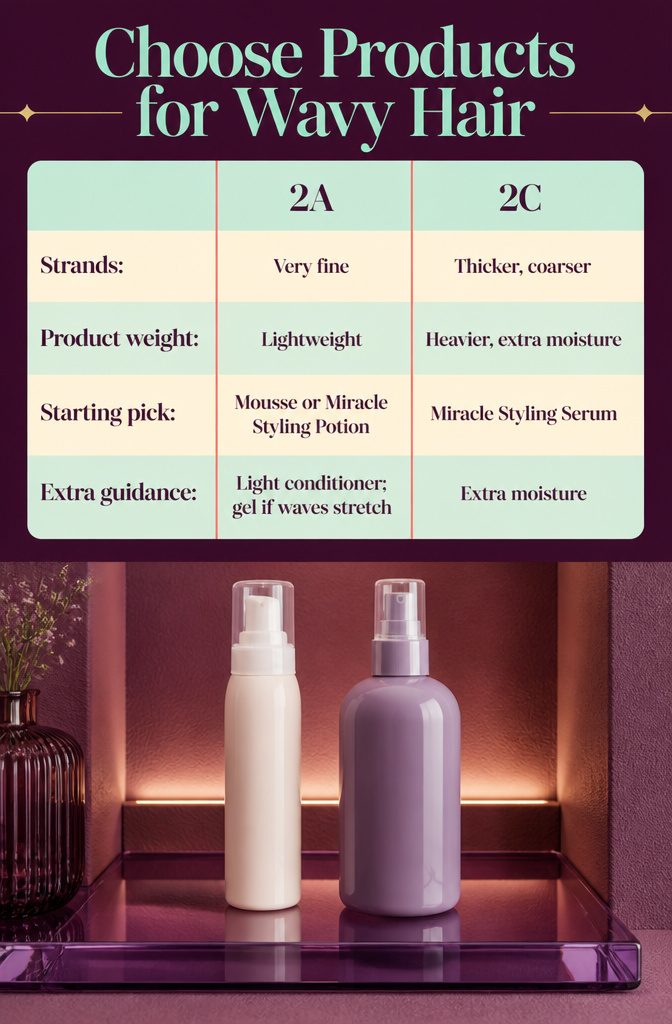
Product weight decides whether waves curl or collapse.
Very fine 2A hair goes limp under rich formulas, so mousse or a light styling product like Miracle Styling Potion works best. Thicker, coarser 2C strands need extra moisture and can carry more.
| Wave type | Strands | Product weight | Starting pick |
|---|---|---|---|
| 2A | Very fine | Lightweight | Mousse, Miracle Styling Potion |
| 2C | Thicker, coarser | Heavier, extra moisture | Miracle Styling Serum |
Fine hair also does better with a light conditioner, such as Briogeo’s Acai & Passionfruit Lightweight Hydration Mask, which hydrates without weighing waves down.
If your waves stretch out as they dry, move up to a gel for stronger hold, even on fine hair. Mousse alone rarely keeps a curl shape that long.
Plan Around Humidity
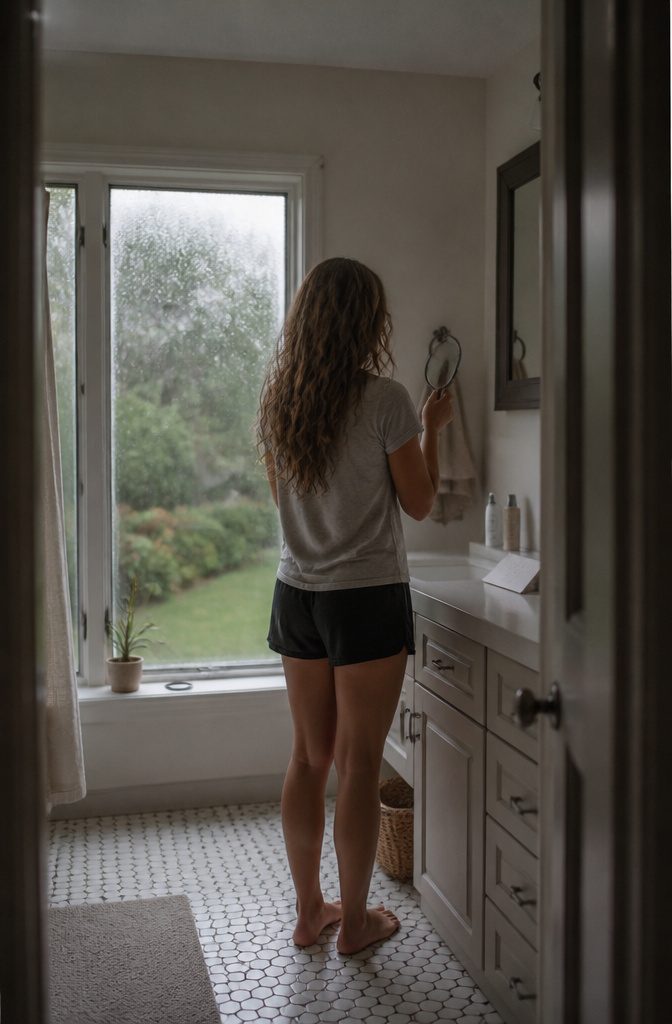
Fine hair gets weighed down fast, so a lightweight styling product keeps waves from going limp. Thicker strands do better with a humidity-resistant gel or serum, which holds the pattern when the air is wet.
Match the product to the forecast as well as your hair, because the same bottle can behave differently on a dry morning and a damp one.
Hot, humid days are where curls lose the most: expect more frizz and definition that fades sooner, even if the set looked good at first. On those days I would skip the gel-only routine.
It saves time, but the curls come out less defined than they do with a fuller routine. Keep it for mild, dry mornings or when you’re short on minutes and fine with a softer look.
Overnight Braids and Satin
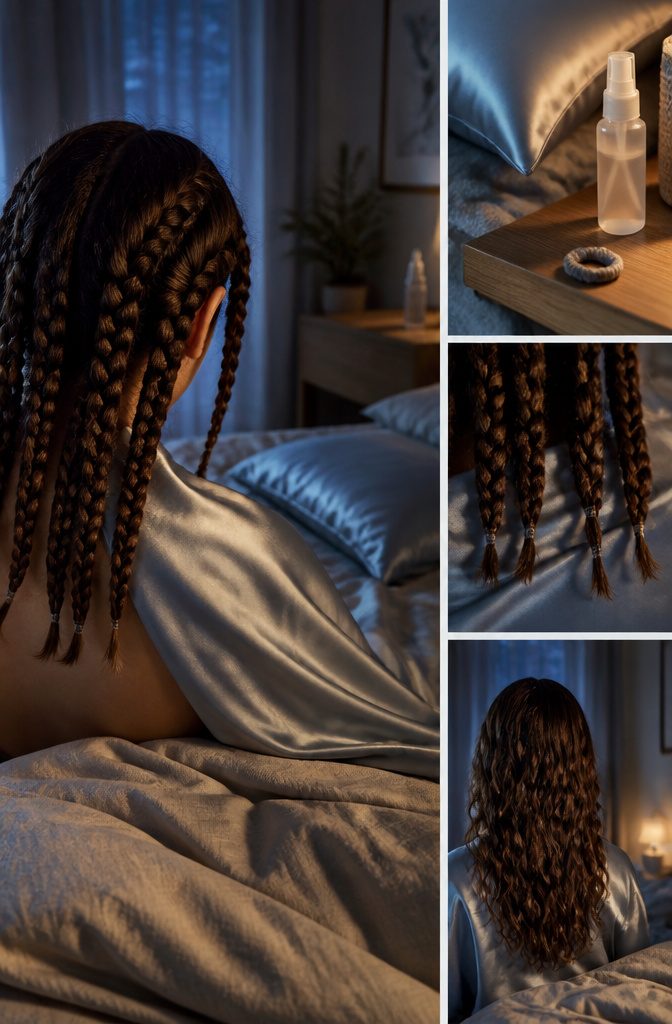
Braiding damp hair and letting it dry overnight gives you heat-free curls, and the braid sets their strength. John Frieda says it directly:
Remember, the tighter the braids, the tighter the curls.
For waves that need more definition, I braid tight, since loose plaits mostly give soft bends. Fasten the ends with thin, metal-free elastic bands.
A silk or satin scarf, or a satin pillowcase, cuts friction against the braids while you sleep. Sea salt spray misted on before braiding adds texture and volume, which helps if your waves go flat at the roots.
Frequently Asked Questions
How can you make wavy hair curly without heat?
Braid damp hair tightly and let it dry overnight, or plop it in a T-shirt or thin microfiber towel for at least 30 minutes so the wave pattern sets without gravity pulling it down.
Tighter braids give tighter curls, and thin metal-free elastics keep the ends from snagging.
Twisting or scrunching damp hair in 1-inch sections adds a defined, piecey look. Your natural pattern can only be enhanced, not permanently changed, so aim for better-defined waves.
How should you prep wavy hair before styling?
Wash and condition with curl-friendly products at least once a week, and make that wash your deep-conditioning one.
Detangle wet hair with your fingers or a wide-tooth comb instead of a brush, then blot out water with a microfiber towel or soft T-shirt rather than rubbing with a bath towel.
Apply product while hair is still damp, and sleep on satin to cut friction overnight.
How do you scrunch wavy hair?
Cup your hands around damp, product-coated ends and press them up toward the roots, like closing an accordion.
A microfiber towel or T-shirt does the same job and cuts frizz. Once hair is completely dry, scrunch again with dry hands to break up the gel cast and leave soft curls.
Is a quick gel-only routine worth the time saved?
Only on mild, dry mornings, or when you’re short on minutes and happy with a softer look.
Less styling effort means less defined curls, and on hot, humid days it also means more frizz and definition that fades sooner. A fuller routine with shaping and diffusing holds the pattern better.
How do you get more moisture into wavy hair?
Use a moisturizing mask or deep conditioner at least once a week. Wavy hair needs as much moisture as curlier textures, and a lack of it is a main cause of frizz.
Do an elasticity test to see whether your hair wants products with or without protein, and skip anything with drying alcohol. Avoid flat irons, and if you blow-dry, use a cold setting.
Why is my hair curly one day and not the next?
Humidity, drying and product weight are the usual causes. Damp air brings more frizz and curls that fade sooner, and waves that stretch out as they dry or dry only partway lose their shape.
If it keeps happening, move up to a gel for stronger hold and match the product weight to your hair: lighter for fine 2A waves, richer for thicker 2C strands.